 Script Planner Assistant▸
 AI Apps
 AI News
CodeGeeX: Installation, Deployment, Configuration, and Usage Guide
小编 ·

CodeGeeX: Installation, Deployment, Configuration, and Usage Guide
CodeGeeX is a free AI programming assistant that supports multiple programming languages and helps developers quickly generate code, fix errors, and translate code. Below is a tutorial on how to install, deploy, configure, and use CodeGeeX.
I. Core Features of CodeGeeX
Code generation and completion: Generates code snippets or completes code based on context.
Code comment generation: Automatically adds detailed comments to code.
Code explanation: Explains the functionality and logic of code.
Unit test writing: Automatically generates unit test code.
Code Review: Helps developers perform code reviews.
Bug fixing: Automatically fixes errors in code.
Git commit message generation: Helps developers quickly generate commit messages.
Code translation: Supports code translation between different programming languages.
Intelligent Q&A: Provides intelligent answers to technical and coding questions.
II. Programming Languages Supported by CodeGeeX
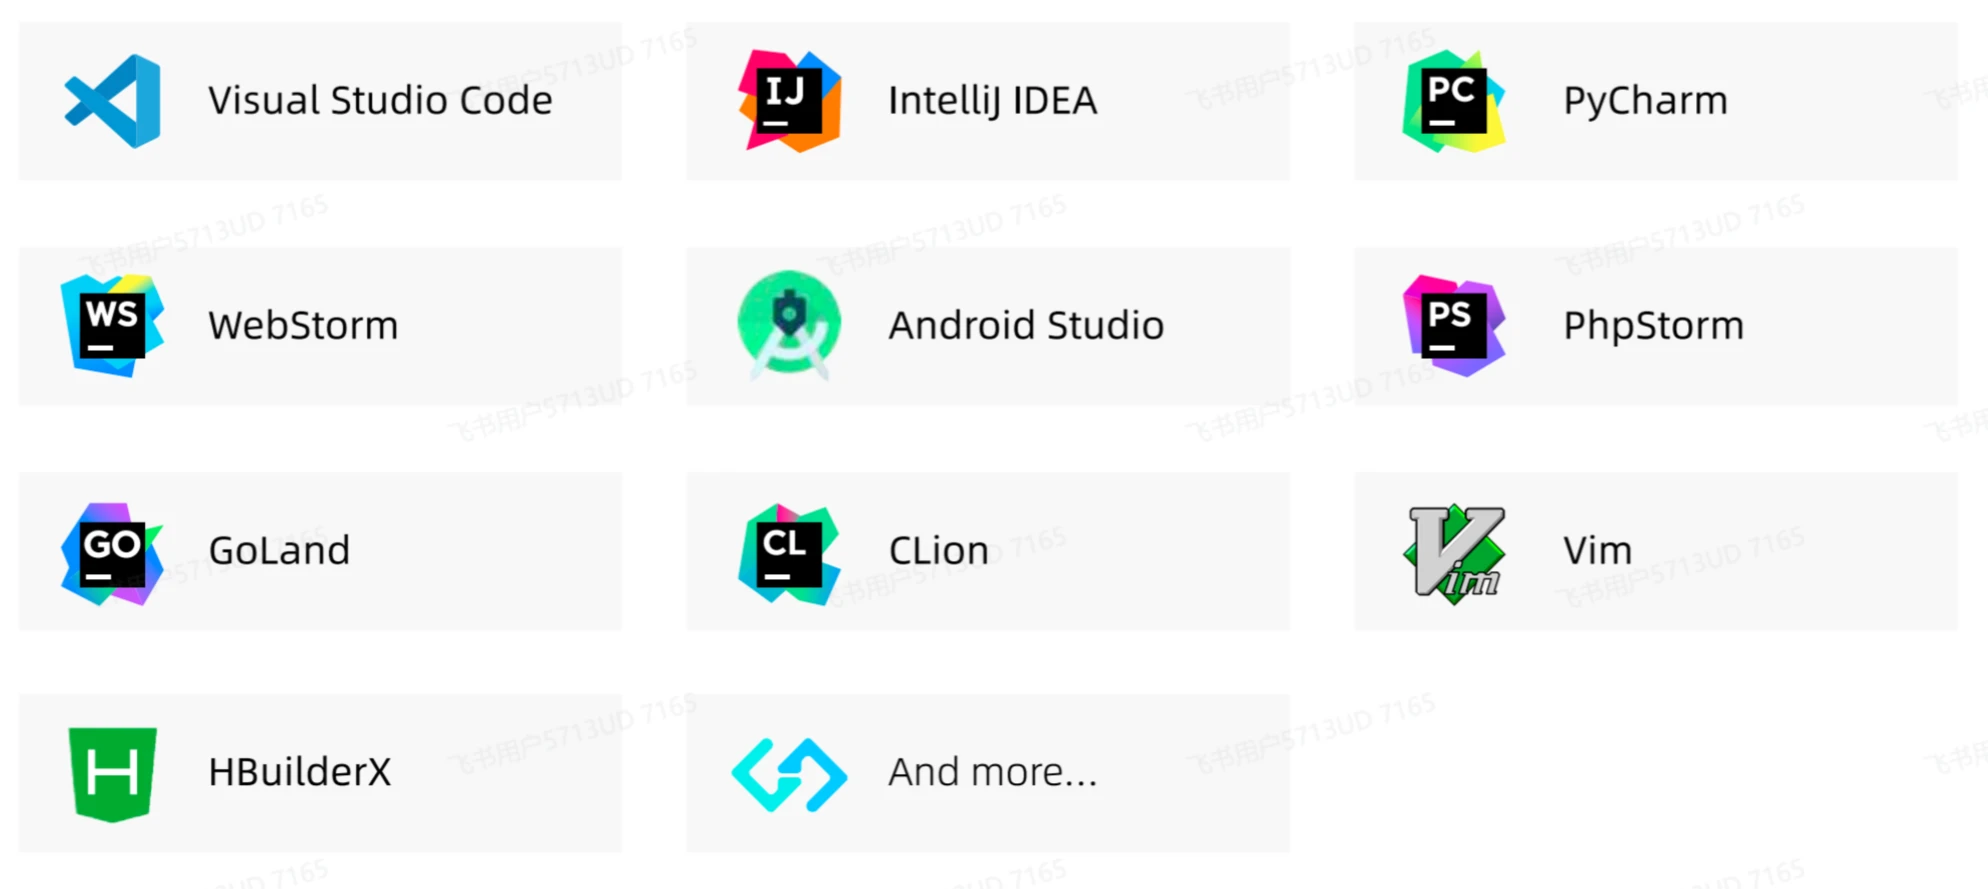
CodeGeeX supports over 100 programming languages, covering frontend, backend, mobile, and other development fields:
Frontend: Vue, JavaScript, TypeScript, HTML, CSS, React
Backend: C, C++, Java, Python, Go, PHP, Rust, SQL
Mobile: Objective-C, Kotlin, Swift, Uni-App
Others: Perl, Ruby, GraphQL, COBOL
III. Installing CodeGeeX
1. Install VS Code
CodeGeeX is provided as a VS Code plugin, so you need to install Visual Studio Code first.
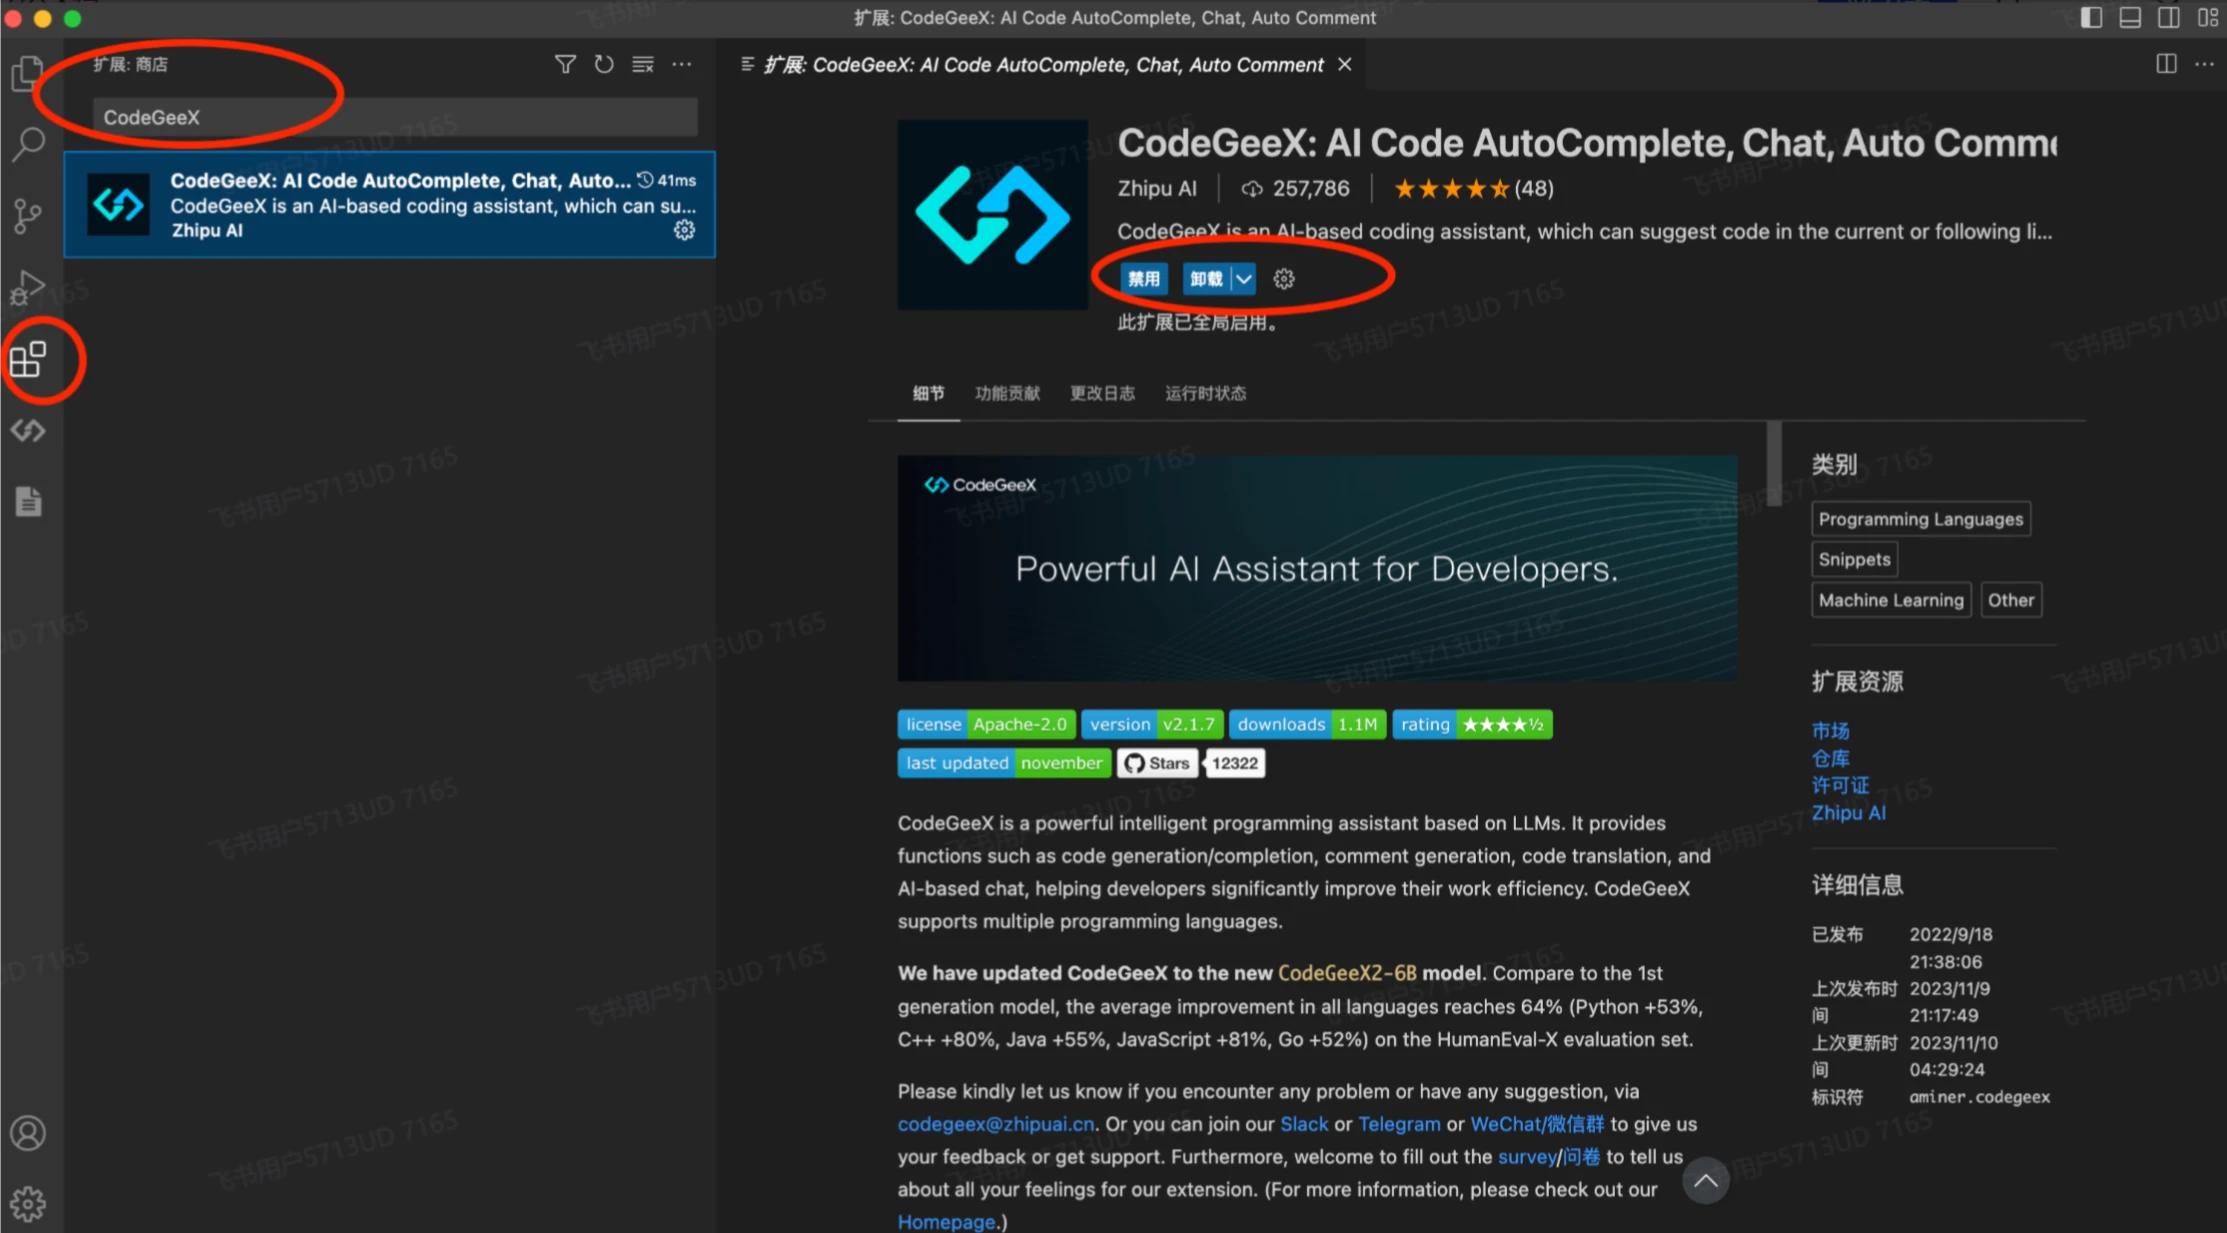
2. Install the CodeGeeX Plugin
Open VS Code.
Click the Extensions icon on the left sidebar (or press the shortcut Ctrl+Shift+X).
Type "CodeGeeX" in the search box to find the corresponding plugin.
Click the [Install] button.
After the installation is complete, VS Code will restart automatically.
IV. Configuring CodeGeeX
1. Configure API Key (Optional)
If you are using CodeGeeX's online service, you need to configure an API Key (this step is not required if you are using the locally deployed version).
Open VS Code's Settings (Ctrl+, or click the gear icon in the bottom left corner).
Search for CodeGeeX to find the API Key configuration item.
Enter your API Key (obtained from the CodeGeeX official platform).
2. Custom Settings
You can also adjust the following settings as needed:
Candidate Num: The number of code candidates to generate.
Prompt Templates: Customize the prompt templates for code generation.
Language: Set the default programming language.
V. Using CodeGeeX
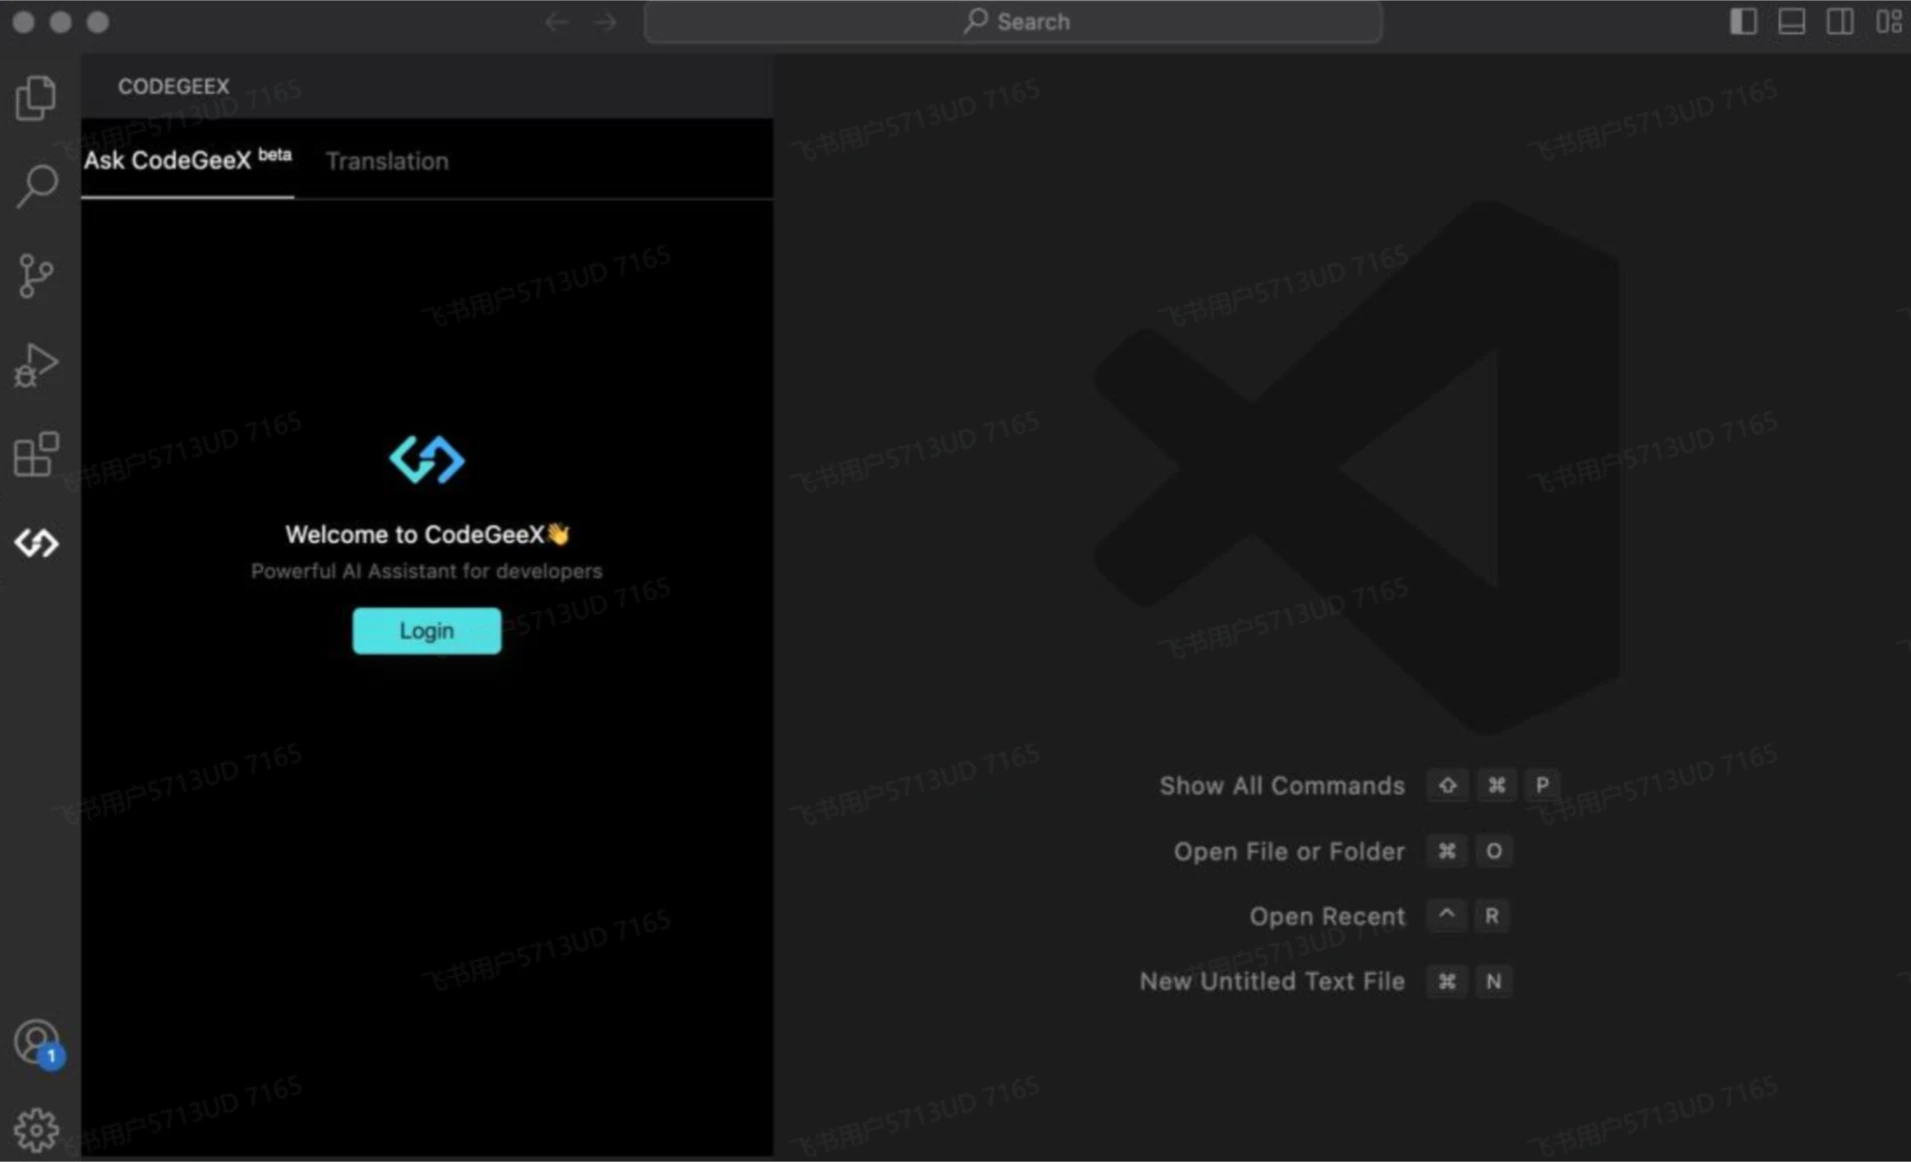
CodeGeeX requires login to use.
Login Method
Click the CodeGeeX icon on the left sidebar of VSCode to open the CodeGeeX sidebar.
Click "Go to Login".
VSCode will prompt whether to allow CodeGeeX to log in. Click "Allow".
Click "Open" to bring up the browser.
On the CodeGeeX login page opened in the browser, enter your email and password to log in.
After successful login, return to VSCode and you can start using it.
1. Stealth Mode (Recommended)
Open a code file (such as Python, Java, etc.).
Start writing code. When the cursor stops inputting, CodeGeeX will automatically generate code from the cursor position.
The generated code will be displayed in gray. Press the Tab key to insert the code.
2. Interactive Mode
After typing part of the code, press Ctrl+Enter.
CodeGeeX will generate multiple candidate codes and display them in the right-side window.
Click the "use code" button to insert the selected code.
3. Translation Mode
Select a piece of code.
Press the shortcut Ctrl+Alt+T or right-click and select CodeGeeX: Translate Code.
CodeGeeX will translate the code into the target language (e.g., from Python to Java).
Click the "use code" button above the translation result to insert the code.
4. Prompt Mode (Experimental Feature)
Select code and press Alt+T.
CodeGeeX will display a list of predefined templates.
After selecting a template, CodeGeeX will generate code based on the template.
VI. Other Usage Methods
1. Code Comments
Select code, right-click and select CodeGeeX: Add Comment.
Or type /comment in the chat box and press Enter.
CodeGeeX will generate detailed comments for the code.
2. Code Fixing
Select code, type /fixbug in the chat box and press Enter.
CodeGeeX will attempt to fix errors in the code.
3. Unit Test Generation
Select code, type "generate unit tests" in the chat box.
CodeGeeX will generate the corresponding unit test code.
VII. Local Deployment Tutorial (Advanced Users)
If you need to use CodeGeeX offline, you can refer to its open-source code for local deployment:
1. Install Ollama
Ollama is an open-source project used to quickly run various open-source large models locally. The installation steps are as follows:
1.1 Install Ollama
MacOS and Windows: It is recommended to install Ollama 0.2 or higher. You can use a one-click installer.
MacOS: Install using the following command:
brew install ollama
Windows: Download the installer and run it.
inux: Use the following command to install:
curl -fsSL https://ollama.com/install.sh | sh
1.2 Verify the Installation
After the installation is complete, open the terminal and enter the following command:
ollama
If the installation is successful, you will see the relevant information about Ollama.
2. Download the CodeGeeX4-ALL-9B Model
Open the Ollama official website.
Type CodeGeeX4 in the search box.
Find the details page for the CodeGeeX4-ALL-9B model.
Copy the run command provided on the page, for example:
ollama pull codegeex4-all-9b
After running this command, the model will be automatically downloaded and loaded into Ollama. The terminal will prompt "Send a message", indicating that the model has been successfully loaded and you can start a conversation with the model directly.
3. Configure Environment Variables
To integrate the CodeGeeX4-ALL-9B model into the local mode of the CodeGeeX plugin, you need to set the environment variables:
3.1 Set the Environment Variable
MacOS and Linux:
export OLLAMA_ORIGINS="*"
launchctl setenv OLLAMA_ORIGINS "*"
Windows:
Open "System Properties".
Click "Environment Variables".
In "System variables", create a new variable named OLLAMA_ORIGINS with the value *.
4. Install the CodeGeeX Plugin
Open your IDE (such as VSCode or JetBrains IDE).
Search for CodeGeeX in the plugin marketplace.
Download and install the plugin.
5. Restart the Service and IDE
After setting the environment variables, you need to restart the Ollama service and the IDE for the configuration to take effect:
Restart the Ollama service:
ollama restart
Restart the IDE: Close and reopen your IDE.
6. Use the CodeGeeX Plugin
After the installation and configuration are complete, you can use the local mode of the CodeGeeX plugin in the IDE:
Open a code file.
Use CodeGeeX's features, such as code completion, intelligent Q&A, etc.
If you need to switch to local mode, you can select local mode in the plugin settings.
The above is the tutorial on installing, locally deploying, configuring, and using CodeGeeX. If you encounter any issues during the deployment, you can refer to Ollama's official documentation or the CodeGeeX community.
Related: Latest 2025 Compilation: 20+ Best AI Programming Tools and AI Coding Assistants