 Script Planner Assistant▸
 AI Apps
 AI News

Magic Eraser: Auto Detect & Remove Unwanted Objects from Photos
Magic Eraser: Auto Detect & Remove Unwanted Objects from PhotosIntroduction
Although smartphone cameras are getting increasingly powerful these days, no one has yet invented some magical feature that automatically removes people from your shots while you're taking them. So those extra passersby, obstacles, and the like still need to be removed by hand during post-production. However, not everyone knows how to use Photoshop, and even when they do, simple erasing doesn't always produce great results. Today, I'd like to share an online tool called Magic Eraser. It's completely free, requires no registration, and lets you erase unwanted content right away. Best of all, the results are pretty impressive.
Magic Eraser is an image editing software that can automatically identify and remove backgrounds from photos. It is a feature separated from ordinary photo editing software, mainly used to quickly and accurately remove unwanted background portions from photos.

Magic Eraser uses artificial intelligence to remove objects, people, text, blemishes, and many other things from images. It can also intelligently replace that part of the image, so it doesn't look like anything has been removed. You simply need to select the area you want to erase or replace and outline it with a simple brush—you don't have to be very precise. The AI takes cues from the image itself (including patterns) and other objects to determine what to use to fill in the erased area.
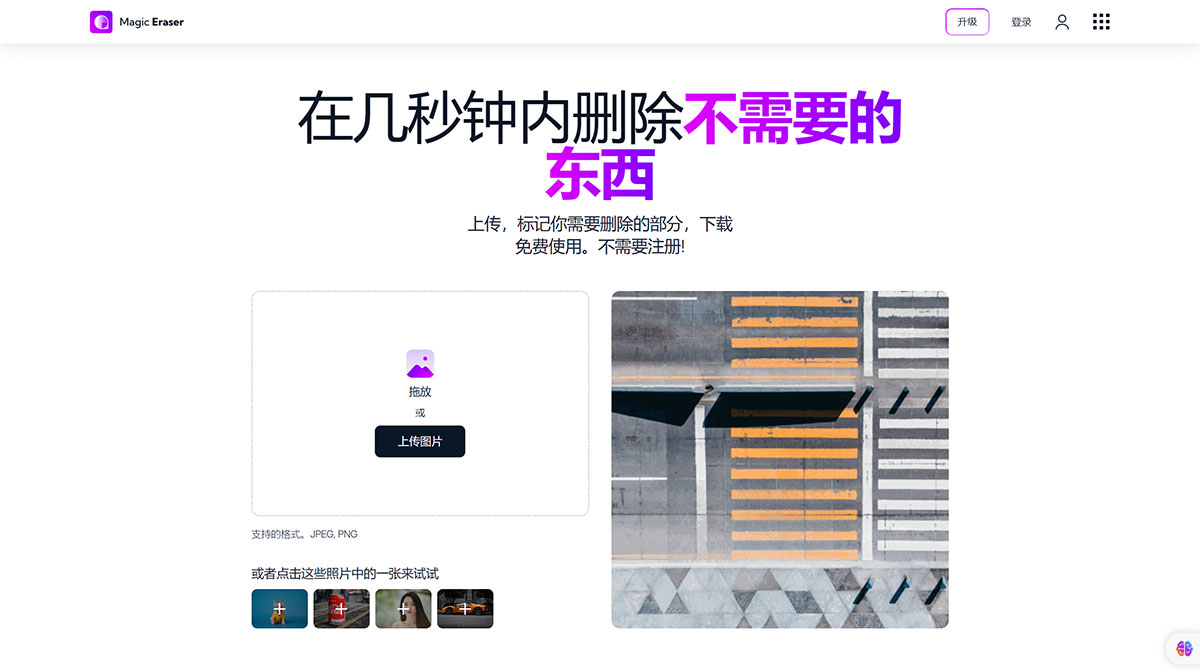
How to use Magic Eraser to remove unwanted objects from your photos?
Upload: Select and upload an image by drag-and-drop or clicking. We support all common image formats, including JPG, JPEG, PNG, HEIC, WEBP, and TIFF. There is no resolution limit on uploaded images.
Select:Use the brush to select the area you want to remove. Use the slider to adjust the brush size. You can also adjust the zoom level to make selecting areas easier. Follow the pro tips on this page for the best results.
Erase:Once you've finished selecting, click Erase. Keep in mind that if the result isn't ideal, you should try erasing the same area again—the AI will produce a better result on the next pass. You may need to try a few times, but work with the AI to get the result you want. If you think you made a mistake, you can also undo and reselect.
Download:When you're satisfied, click Download to save the image to your computer or phone album. The downloaded image format suits the edit you've made and can be converted to JPG, JPEG, PNG, HEIC, WEBP, or other formats as needed.