
 Script Planner Assistant▸
 AI Apps
 AI News

Drawnix:
Drawnix:Introduction
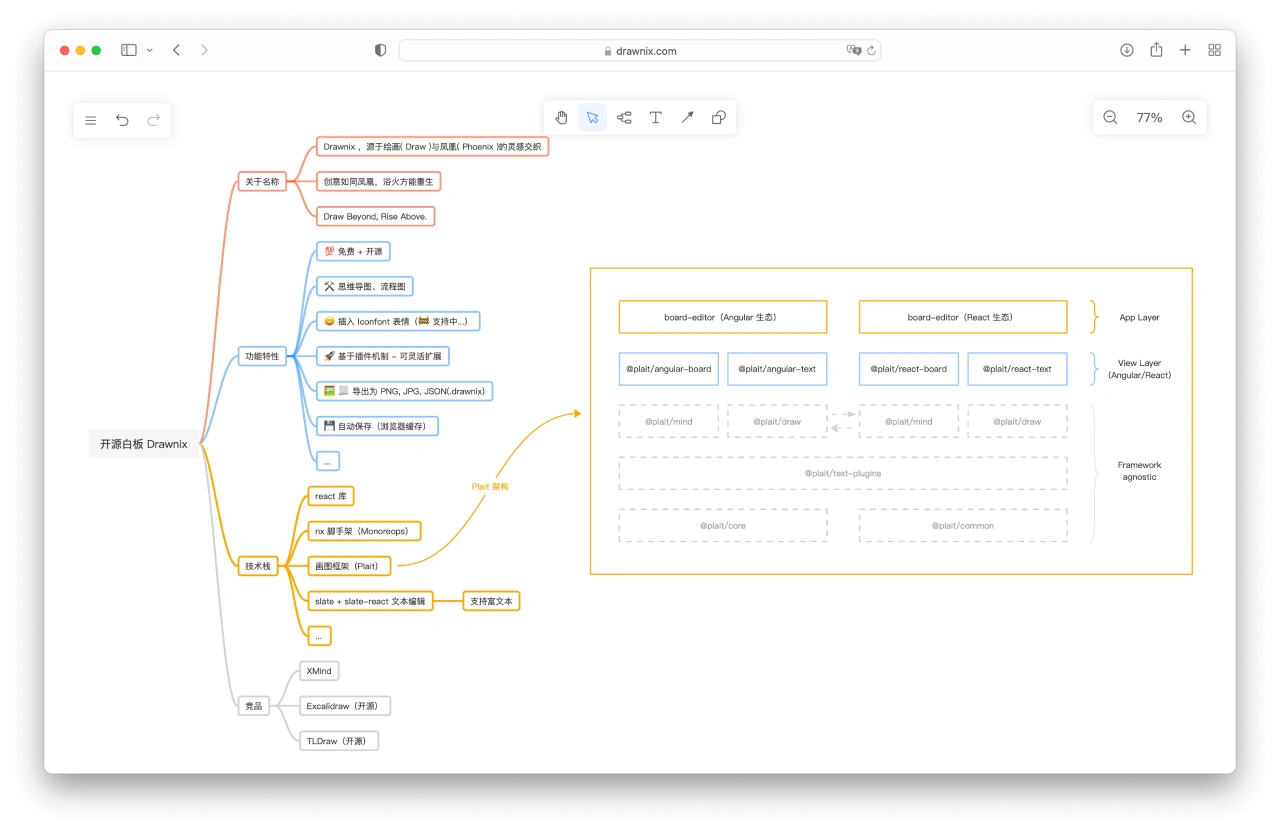
Drawnix is an open-source, free whiteboard tool based on the Plait framework. The name is inspired by "drawing" and "phoenix nirvana," representing creativity and innovation. It offers features like mind maps, flowcharts, and freehand drawing, supports plugin extensions, and is compatible with multiple UI frameworks.
It features auto-save, an infinite canvas, undo/redo, and the ability to export to PNG, JPG, JSON, and other formats. It also offers theme modes and works on mobile devices. Users can deploy it with Docker or run it on a local machine, and remote access can be enabled through tools like cpolar. It is well suited for personal study notes, team collaboration, teaching, and other scenarios.
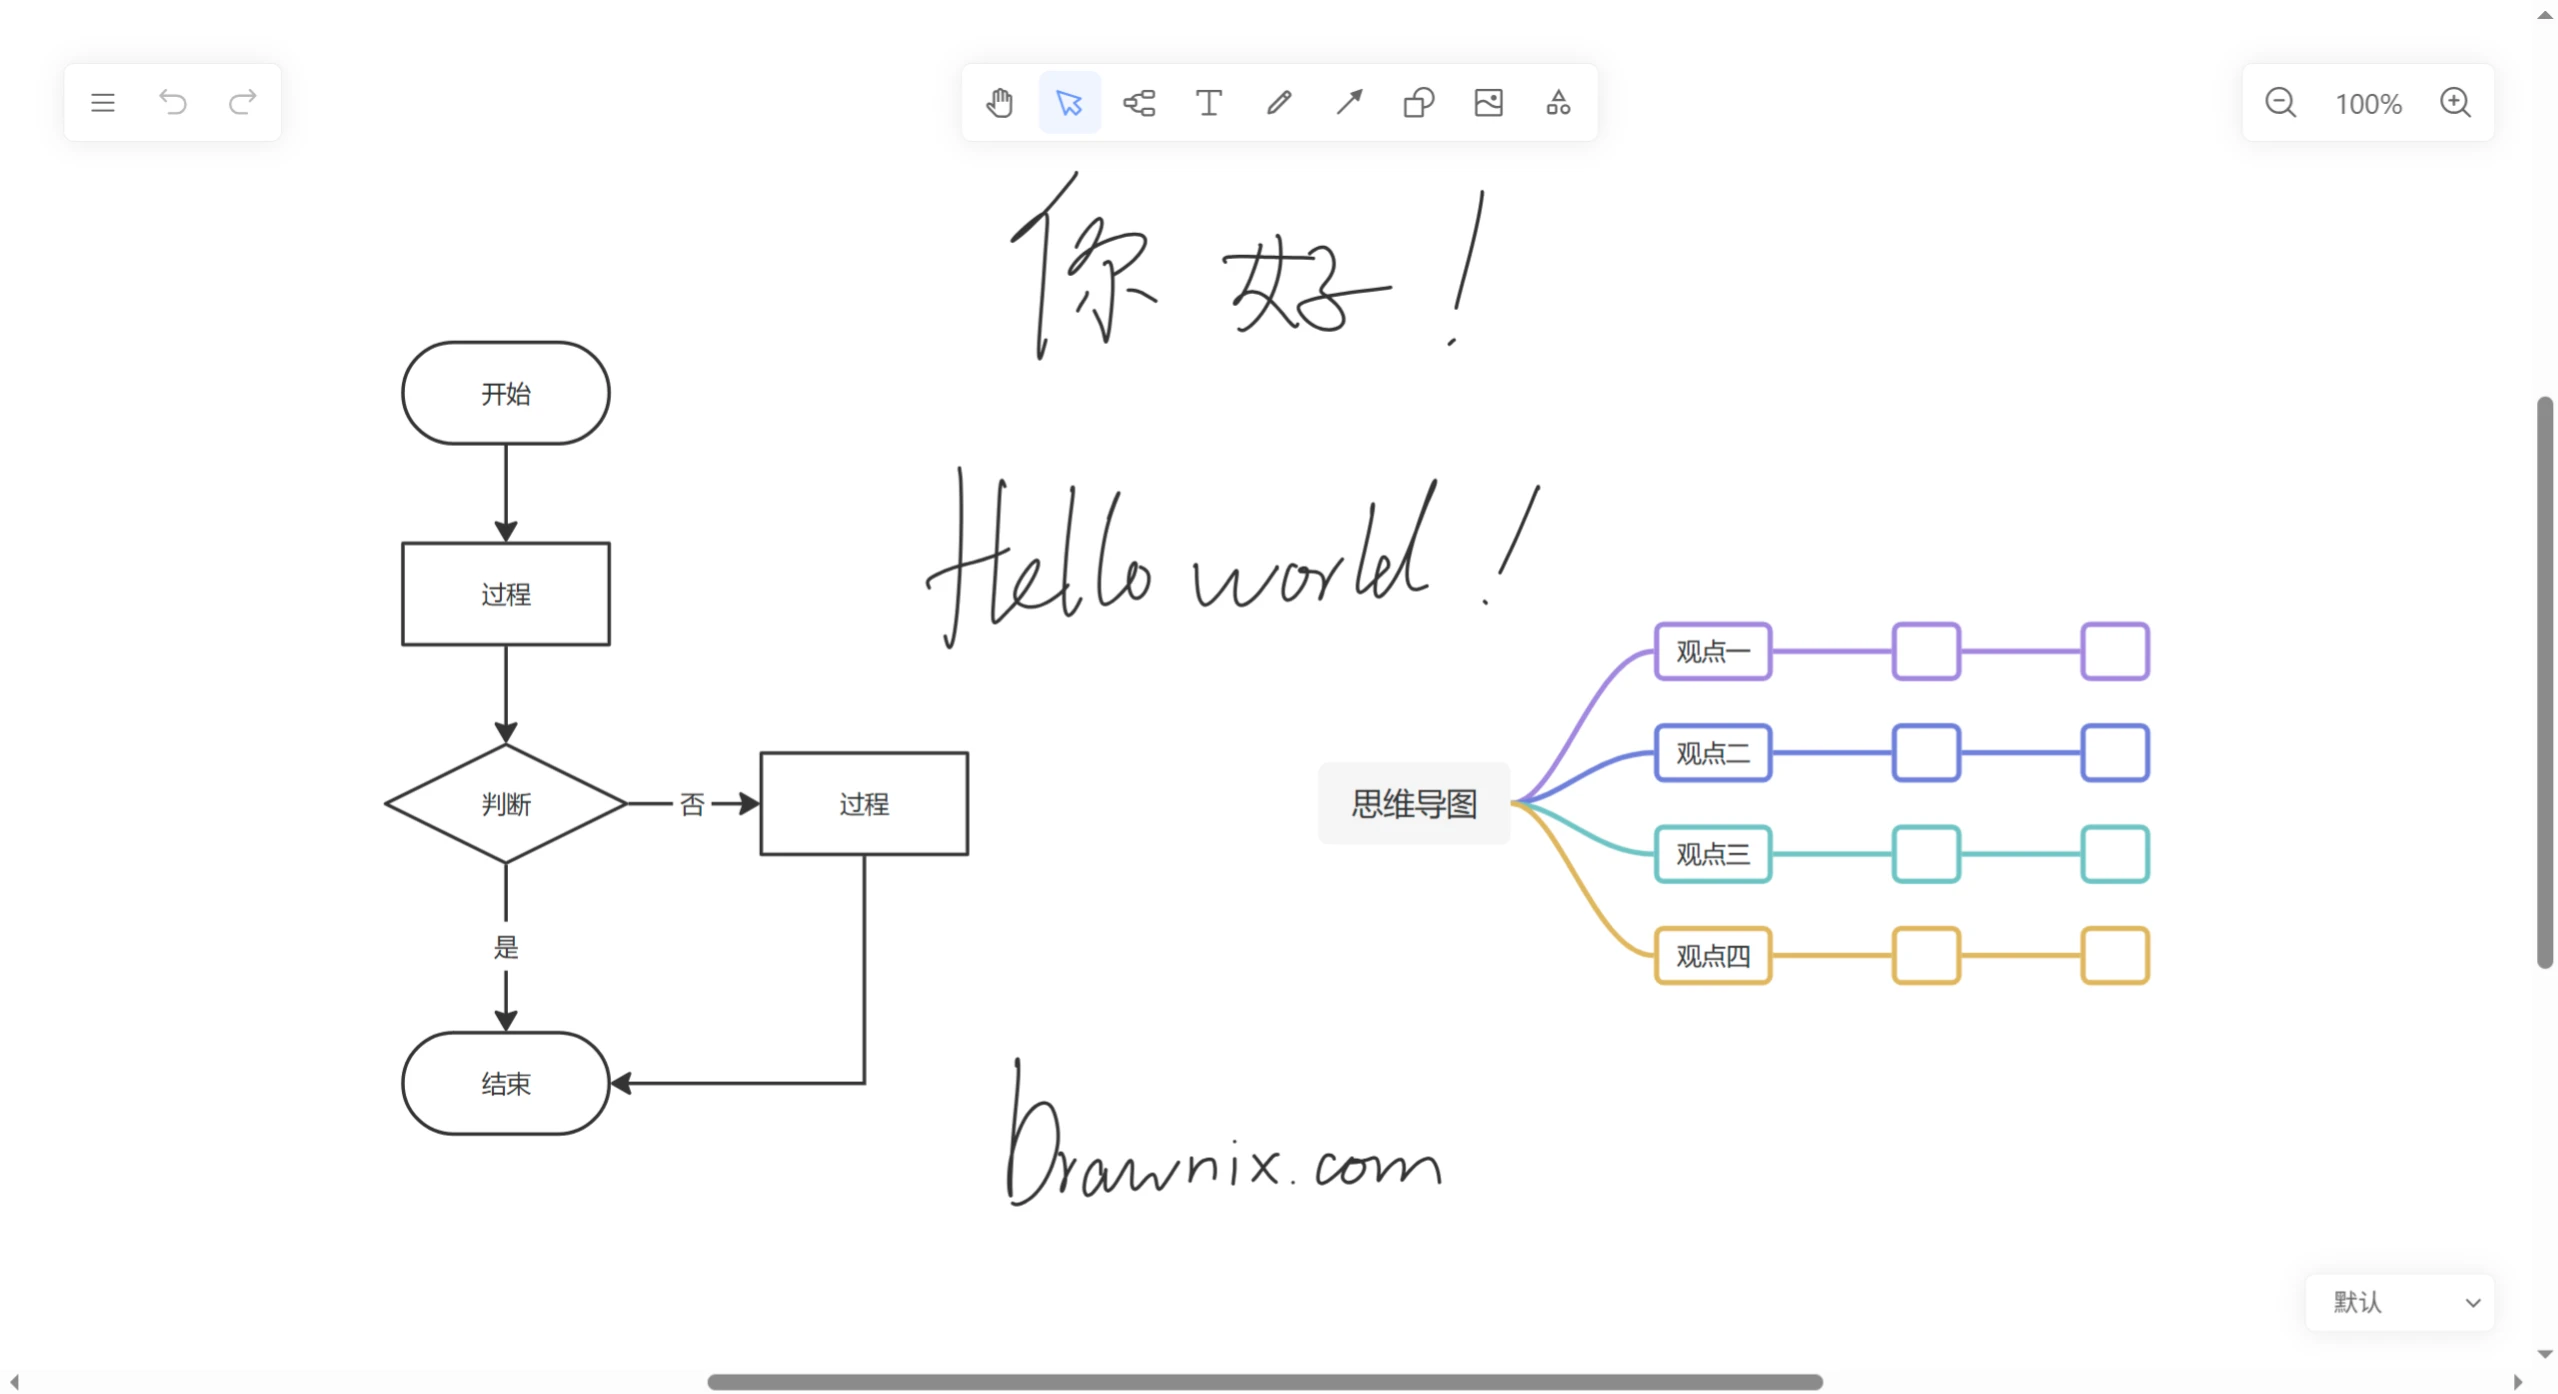
Drawnix Features
Free and open source: Licensed under MIT, it can be used and modified for free
Rich features: Supports mind maps, flowcharts, freehand brushes, image insertion, and more
Plugin architecture: Adopts a plugin-based design; the technical architecture is somewhat complex but highly extensible
Multi-framework support: Can be integrated with various UI frameworks (such as Angular, React) and rich text frameworks (currently only Slate is supported)
Export functionality: Can be exported as PNG images and JSON format (.drawnix)
Editing features: Supports undo, redo, copy, paste, and other operations
Infinite canvas: Supports zoom and scroll, providing an infinite canvas experience
Theme mode: Allows switching themes
Device adaptation: Compatible with mobile devices
Drawnix Main Functions
Multi-user collaboration: Supports multiple users drawing, editing, and annotating on the same whiteboard online simultaneously.
Rich drawing tools: Includes brushes, shape drawing tools (rectangles, circles, arrows, etc.), text tools, and more, which can be chosen as needed.
Multiple background templates: Provides grid, dot, blank, and other background templates for precise drawing and layout.
File import and export: Can import PNG, JPG, and other images as backgrounds or reference images, and can export as images or vector graphics for easy saving and sharing.
Customizable toolbar: The toolbar layout and tool order can be customized according to personal habits.
Syntax conversion: Supports converting mermaid syntax to flowcharts and markdown text to mind maps.
Drawnix Use Cases
Online teaching: Teachers can use it for online lectures with real-time demonstrations, and students can interact and ask questions on the whiteboard.
Remote meetings: Participants can discuss and collaborate in real time, expressing ideas intuitively through drawing and flowcharts.
Project planning: Team members can draw mind maps and flowcharts to organize project ideas and processes.
Creative design: Designers can sketch and annotate on the whiteboard to quickly express design ideas.
How to Use Drawnix
Install and deploy: Download the code from the open-source repository and follow the instructions to install and deploy, then access it via a browser.
Create a whiteboard: After logging in, you can create a new whiteboard and choose the appropriate background template and toolbar layout.
Invite collaborators: Share links or invite others to join for real-time multi-user drawing and editing.
Save and share: Save content at any time, or export as images or vector graphics to share with others.
How to Deploy Drawnix via Docker?
Method 1: Deploy Using a Pre-built Image
1. Pull the image: Pull from Docker Hub, for example, run docker pull ydxian/drawnix:latest.
2. Create a docker-compose.yml file: Create this file locally with the following content:
plaintext
version: '3'
services:
drawnix:
image: ydxian/drawnix:latest
container_name: drawnix
restart: always
ports:
  - "8200:80"
3. Start the container: Run docker-compose up -d in the directory where the file is located to start it.
4. Access the service: Enter http://server IP:8200 in your browser.
Method 2: Build the Image Yourself and Deploy
1. Download the project code: Run git clone https://github.com/plait-board/drawnix.git to download.
2. Build the image: Enter the project directory and run docker build -t custom-image-name:tag ., for example, docker build -t drawnix:latest ..
3. Create a docker-compose.yml file: The content is similar to Method 1, but change the image name to the one you built, for example:
plaintext
version: '3'
services:
drawnix:
image: drawnix:latest
container_name: drawnix
restart: always
ports:
  - "8200:80"
4. Start the container: Run docker-compose up -d in the directory where the file is located to start it.
5. Access the service: Enter http://server IP:8200 in your browser to access.
✅ Open source address: https://github.com/plait-board/drawnix