
 Script Planner Assistant▸
 AI Apps
 AI News

Wancai Recorder Master: Free PPT Micro-Lesson Recording Tool
Wancai Recorder Master: Free PPT Micro-Lesson Recording ToolIntroduction
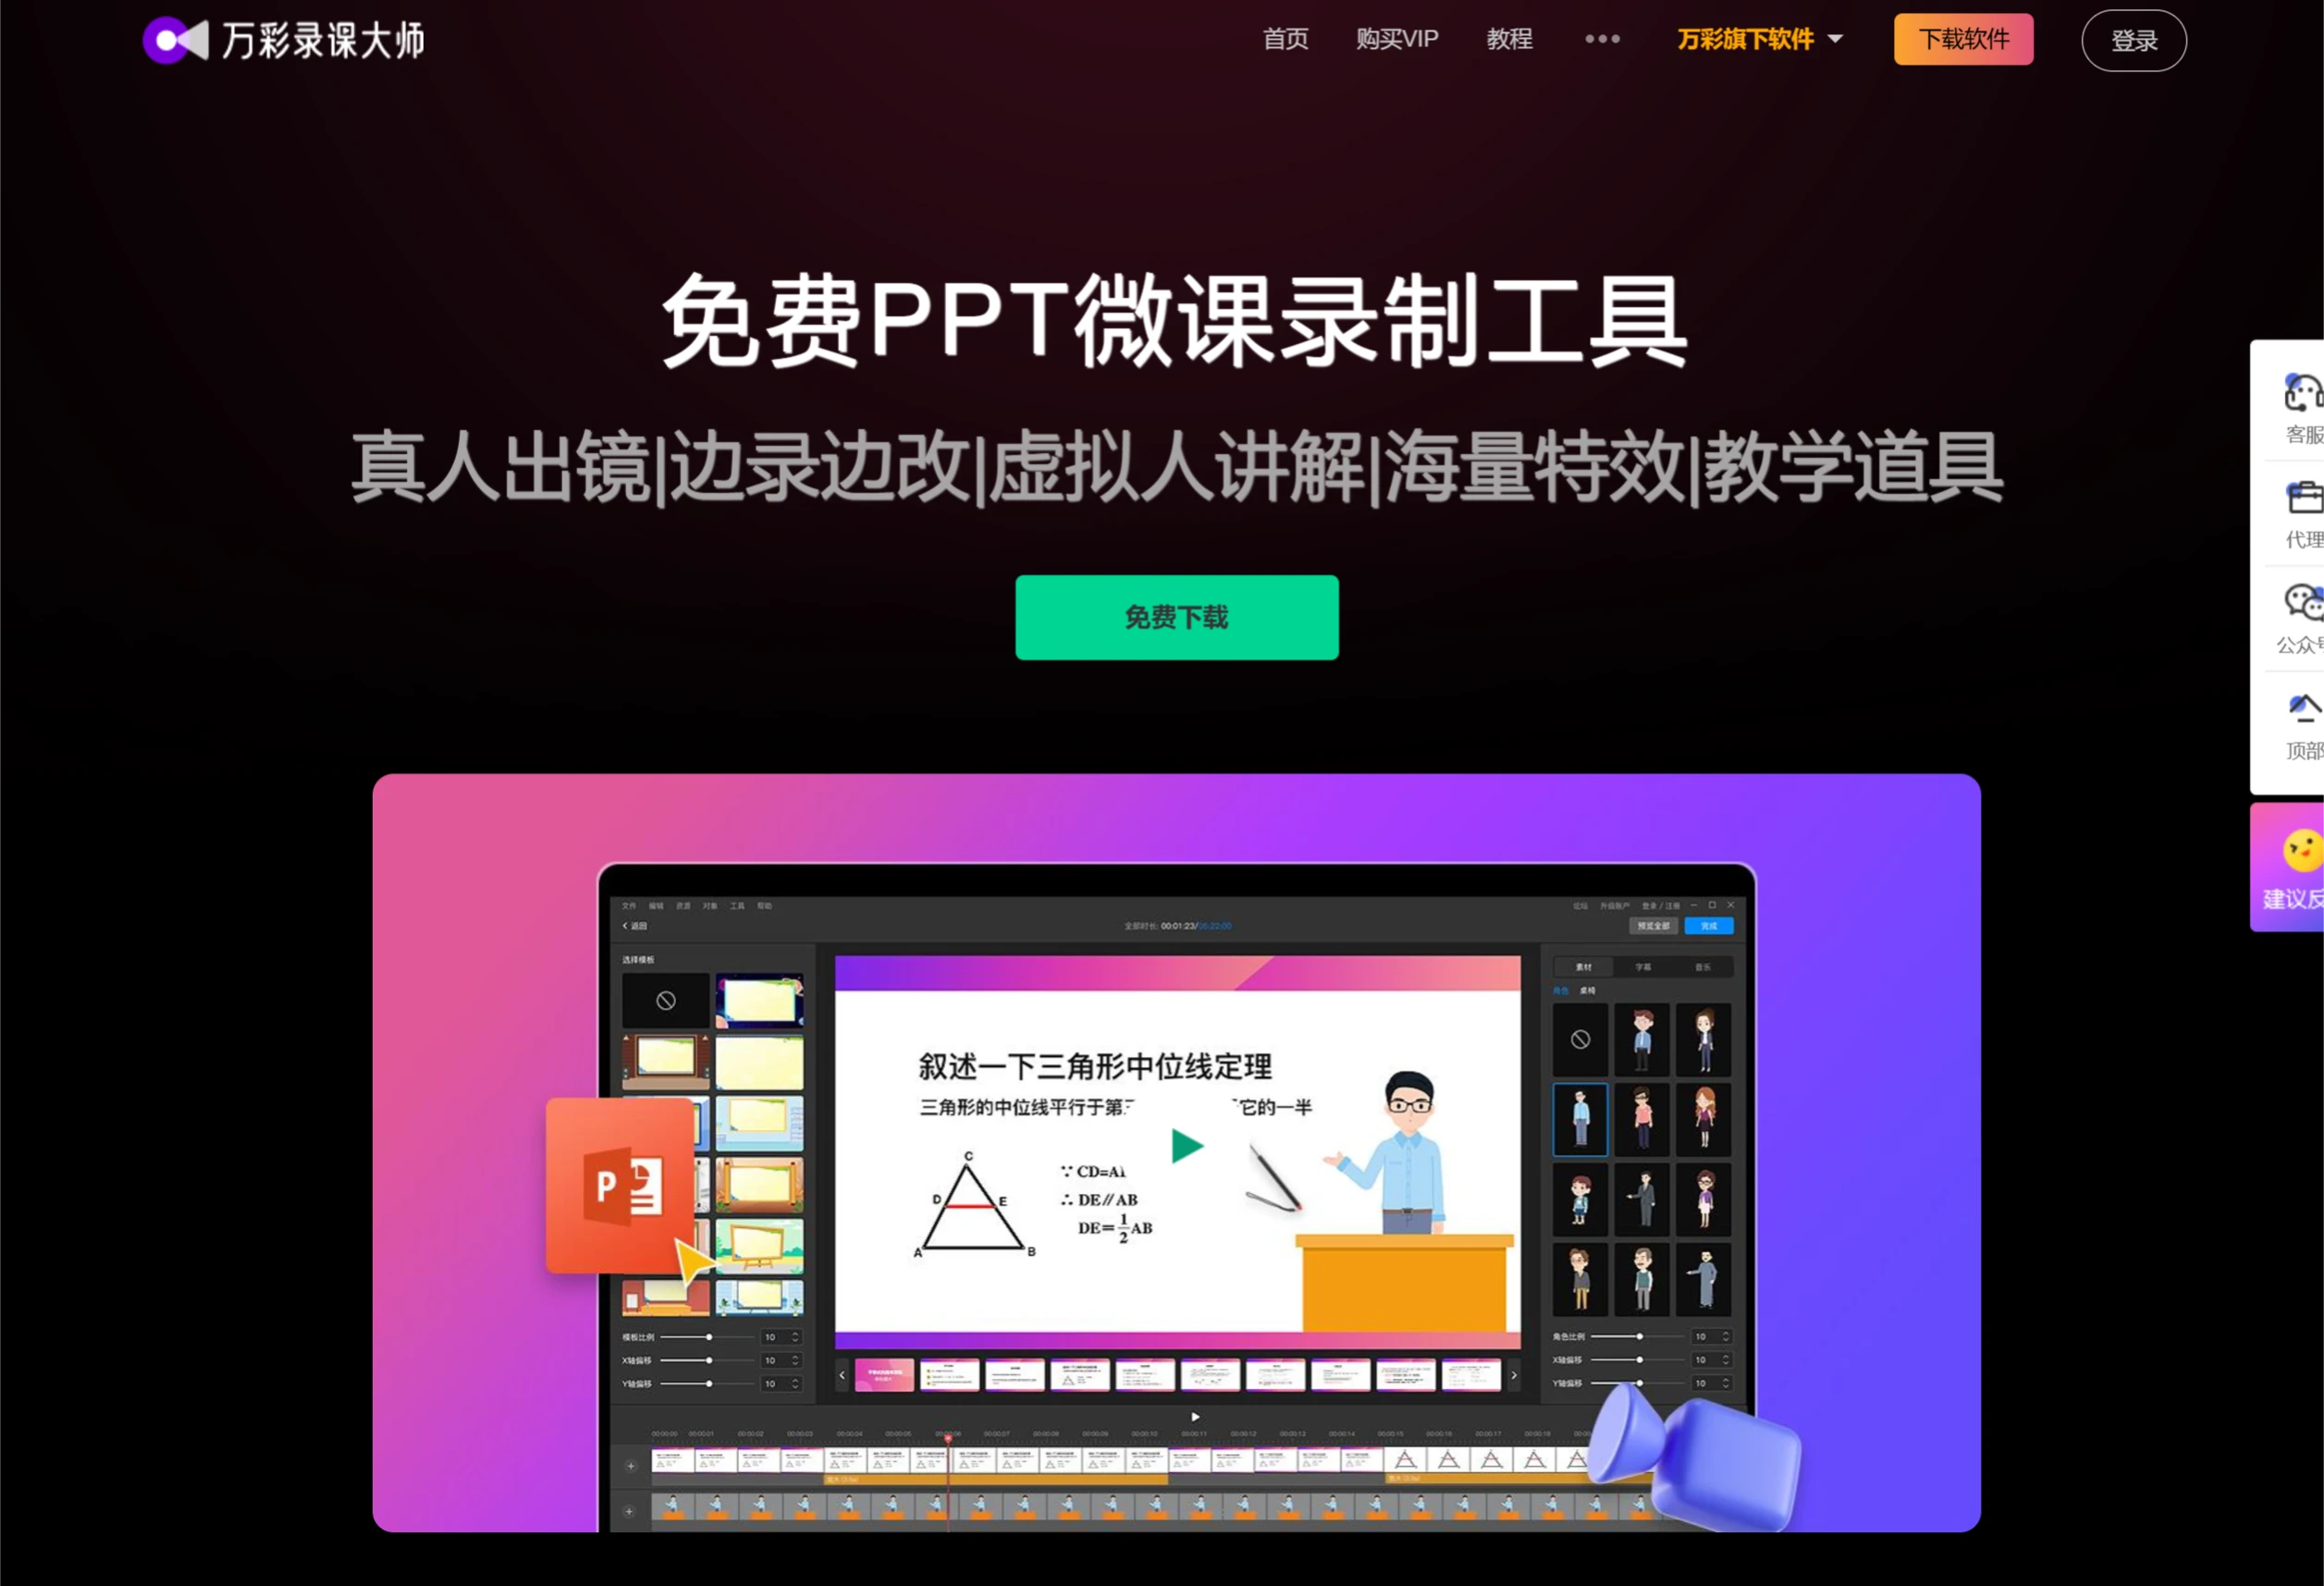
Wancai Lecture Recording Master (LM) is a free PPT microlecture recording tool that integrates PPT recording, real-person voice recording, virtual character narration, and post-production editing, focusing on the recording and editing of various PPT courseware lectures.
Import PPT with one click and start recording microlecture videos, achieving real-person voice recording, synchronized portrait recording, and automatic subtitle generation. Edit while recording, with real-time preview, creating PPT microlecture videos in a real-person narration style.
Wancai Lecture Recording Master Features:
30+ Dynamic Templates: Built-in teaching scenes in various styles, easily switch between indoor and outdoor with one click; also supports customizing template ratios and material positions, freely tailoring exclusive scene content.
Real Person, Real Voice Recording: Add the teacher's real voice during recording, making the effect more realistic and the microlecture recording more lifelike.
Virtual Human Narration: Realistic 3D virtual teachers and virtual anchor narration, with rich and practical body movements. Quickly convert script content into virtual teacher narration videos with one click, making microlecture content richer, more comprehensive, and more interesting.
Automatic Subtitle Generation: Easily and quickly generate accurate subtitles from voice with one click, producing one minute of speech per page in seconds. A wide variety of subtitle styles are available, with support for custom font, style, shadow settings, as well as entry and exit animation effects.
Teaching Assistance Tools: The virtual pointer tool replaces the traditional mouse cursor, helping teachers easily capture students' attention during lectures.
One-click PPT to Video: Covers all common video formats with various clarity options freely selectable. Easily share to major mainstream social media platforms.
Automatic Subtitle Generation: Easily and quickly generate accurate subtitles from voice with one click
Fun Animation Effects: Add entry, emphasis, and exit animations to elements, making content come alive effortlessly
Free Audio and Sound Effects: Built-in free audio and sound effects, supports custom music import
Powerful Material Library: Built-in large collection of high-definition materials covering multiple theme categories, easily find what you need
Rich Character Images: Tools like graphics, highlighter, and free-draw lines make highlighting key points easy
How to Use Wancai Lecture Recording Master Tutorial:
Software Preparation:
First, visit the official website of Wancai Lecture Recording Master to download and install the software.
Choose the version that suits you. There may be a free version and a paid version—decide based on your needs.
Import PPT Files:
After launching Wancai Lecture Recording Master, you can start a new project in two ways: import a PPT file or open an existing recording file.
Make sure your PPT file is created with Microsoft PowerPoint to avoid format compatibility issues.
After importing the PPT, the software will display your slides, and you can configure recording settings based on this.
Recording Settings:
Pre-recording Check: Ensure that the microphone and camera (if on-camera appearance is needed) are properly connected and turned on.
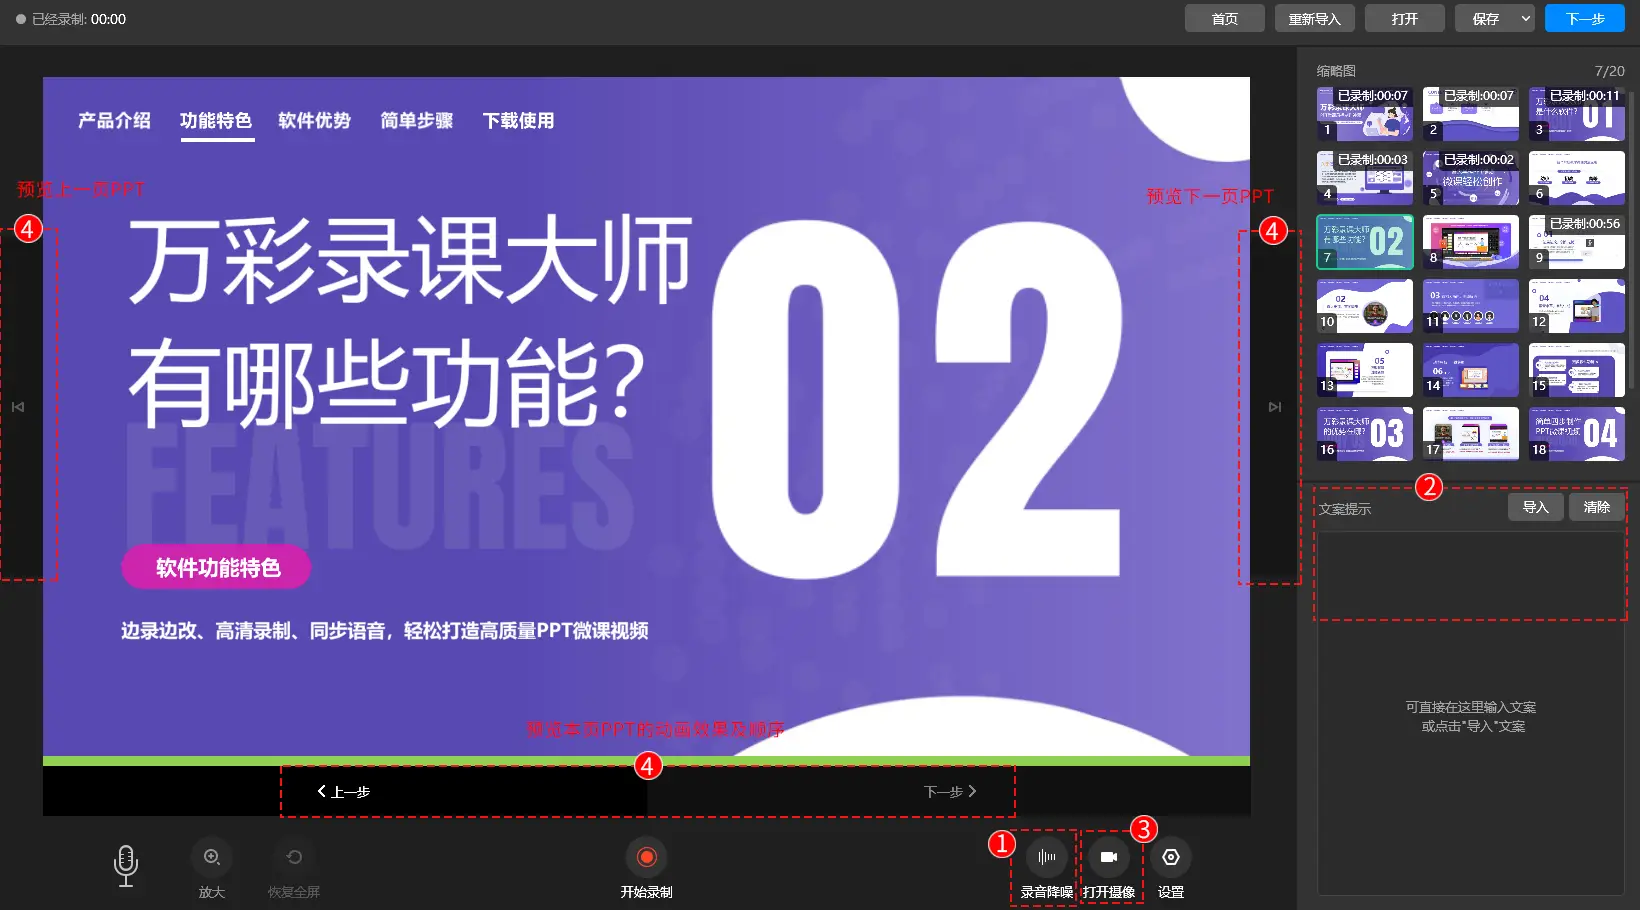
Script Tips: Before recording, you can input or import narration script to serve as a teleprompter during recording, helping you deliver a smooth presentation.
Recording Options: Customize recording settings, including clarity, frame rate, etc., as well as whether to enable screen recording, camera recording, and more.
On-Camera Appearance and Green Screen Keying (Optional):
If choosing on-camera appearance, ensure the background is a solid color—green is best—to use the software's intelligent keying feature.
Adjust the camera position to ensure the portrait is clear and the lighting is appropriate.
Recording Process:
Customize recording settings after importing the PPT file. Check the recording equipment before recording, and start recording once you've confirmed the PPT content displays correctly.
Click the [Start Recording] button to begin recording the video immediately. A flashing microphone indicates recording is in progress. One page of PPT equals one video segment. You can pause or end recording, and re-record at any time during the process—edit while recording for great convenience.
During recording, you can zoom in to display local areas, supporting 3x, 3.5x, 4x, 4.5x, and 5x magnification. You can exit zoom mode at any time to return to full screen when no longer needed.
Post-Production Editing:
After PPT recording is complete, you can edit the recorded PPT narration video, adding templates, transitions, decorations, virtual character narration roles, subtitle styles, background music, watermarks, as well as setting masks, borders, and positions for the recording.
Perform deeper, more refined editing on the video, such as adding various animated elements, special effects, foregrounds, backgrounds, and setting element properties, to create more advanced and stunning microlecture videos.
Publishing Your Work:
After video editing is complete, you can publish in video or GIF format. Six mainstream video formats are available: *.mp4, *.mov, *.wmv, *.avi, *.flv, *.mkv. Transparent, loop-playable GIFs can be published with one click.