 Script Planner Assistant▸
 AI Apps
 AI News

AI2image_云技派,专注ai人工智能!
AI2image_云技派,专注ai人工智能!Introduction
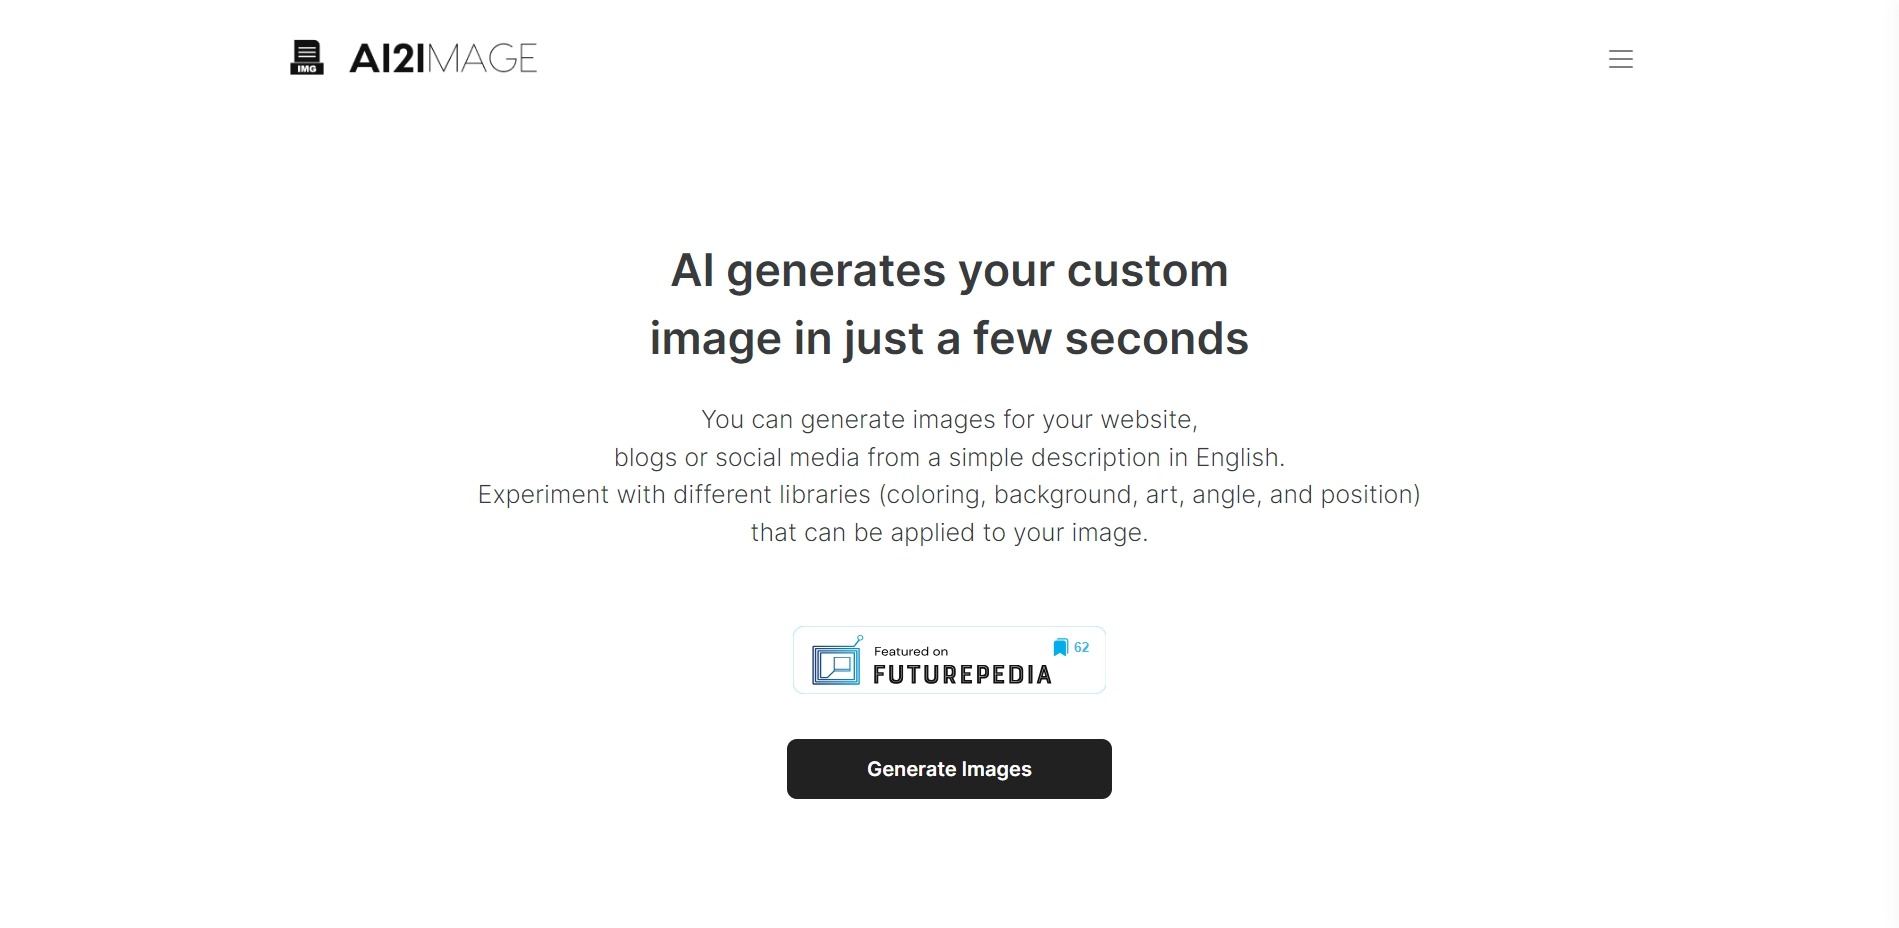
ai2image is an application that uses artificial intelligence to convert your text into images that match your style and preferences. You can use it for your website, blog, social media, or any other purpose. In this article, I will show you how to use AI2image to create stunning images in a few steps.
How to use AI2image:
Step 1: Choose a Mode
AI2image offers three different image generation modes: Freestyle, Blog Banner, and Social Media Post. Each mode has a different output image aspect ratio and size. You can choose the mode that best suits your needs.
The Freestyle mode lets you create any image you want without restrictions. You can use it to generate illustrations, logos, icons, or anything else you can imagine.
The Blog Banner mode allows you to create images optimized for blog posts. You can use it to create eye-catching headlines, featured images, or thumbnails for your articles.
The Social Media Post mode lets you create images optimized for social media platforms. You can use it to create engaging posts for Facebook, Twitter, LinkedIn, or Instagram.
Step 2: Choose a Library
AI2image provides different libraries that you can apply to your images. A library is a collection of settings that affect the color, background, art style, angle, and position of the image. You can choose from a variety of libraries to customize your image according to your taste and mood.
For example, you can choose a library that gives your image a vintage look, a futuristic look, a minimalist look, or a colorful look. You can also choose libraries that add a gradient background, a solid color background, a pattern background, or no background at all. You can also choose libraries that change the artistic style of the image, such as cartoon, sketch, watercolor, or pixel art. You can also choose libraries that change the angle and position of the image, such as top view, side view, center view, or random view.
You can experiment with different libraries until you find the one that works best for your image. You can also mix and match different libraries to create unique combinations.
Step 3: Write a Description
The most important step in using AI2image is writing a description of the image you want to generate. You can write anything you want in simple English, and leave the rest to the AI. The AI will try to understand your description and create an image that matches it as closely as possible.
You can write simple or complex descriptions, depending on how detailed you want the image to be. You can also use keywords or phrases to describe the main elements of the image. For example, you can write "blue sky with clouds" or "a smiling woman holding a cup of coffee". You can also use modifiers or adjectives to specify the attributes of the elements of the image. For example, you can write "a big red apple" or "a small yellow bird". You can also use connectors or conjunctions to combine multiple elements in the image. For example, you can write "a cat and a dog playing together" or "a house on a mountain, surrounded by trees".
You can also use punctuation marks or symbols to separate different parts of your description. For example, you can use commas (,) to separate multiple elements in the image. You can also use periods (.) to end a description or start a new one. You can also use quotation marks (") to enclose text that you want to appear on the image. For example, you can write "a book with the title 'AI2image'".
The more descriptive and specific your description is, the better the AI will be able to generate an image that matches it. However, you should also keep in mind that AI is not perfect and may not always produce the exact image you want. Sometimes, the AI may generate images that are irrelevant, inaccurate, incomplete, or absurd. This is normal and is part of the fun of using AI2image. You can always try again with a different description or library until you get the image you want.
Step 4: Generate and Download
Once you have chosen a mode, a library, and written the description of your image, you can generate it. All you have to do is click the "Generate!" button and wait a few seconds for the AI to work its magic.
You will see a preview of the image on your screen. You can zoom in or out to see the details of the image. You can also click the "Regenerate" button to generate a new image with the same description and library. You can do this as many times as you need until you are satisfied with the image.
When you are happy with the image, you can download it to your device. You can choose different formats and sizes for the image, such as PNG, JPG, SVG, or PDF. You can also choose different resolution and quality levels for the image, such as low, medium, high, or original. You can also choose to download the image with or without a watermark.
You can use the generated image for any purpose you want. You can use it for your website, blog, social media, or personal projects. You can also share it with your friends, family, or colleagues. However, you should always give credit to AI2image when you use or share your image. You can do this by mentioning AI2image in the caption, description, or footer. You can also use the hashtag #AI2image on social media platforms.
AI2image is a fun and simple way to create images from text descriptions. You can use it to unleash your creativity and express yourself visually. You can also use it to save time and money on hiring a designer or buying stock images.