 Script Planner Assistant▸
 AI Apps
 AI News
Screen Studio: Record Product Demo Videos as Easy as Taking Screenshots
Screen Studio: Record Product Demo Videos as Easy as Taking ScreenshotsIntroduction
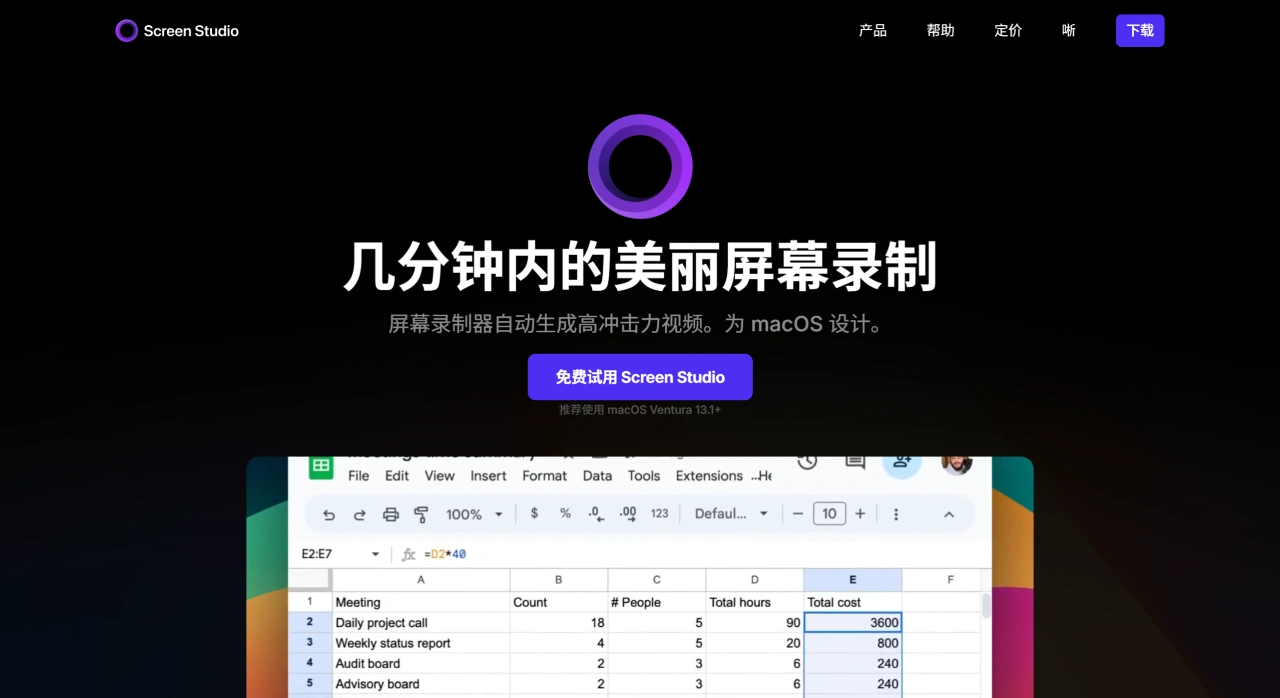
Screen Studio is a screen recording and simple video editing software for macOS, focused on producing clear, easy-to-use, and professional-looking videos. It's well suited for content creators, developers, designers, and anyone who needs to record product demos, tutorials, UI/UX animations, or software introductions.
Screen.Studio Features:
Clear recording: Supports 4K at 60fps, preserving the clarity of Retina displays — great for high-definition video needs.
Built-in simple editing: Automatically highlights the cursor, with a circle animation appearing on click. Allows zooming in/out, panning the画面, and centering the重点 places. You can add text, arrows, shapes, and more. Comes with a timeline for trimming clips, cutting unwanted parts, and stitching them together.
Clean interface, easy to use: The interface is clean, and you can start recording without tweaking a bunch of settings, making it easy to learn.
Flexible export options: Saves as MP4, GIF, or ProRes — works for YouTube, Twitter, or embedding in documents.
Optimized for Apple devices: Uses Metal acceleration, runs smoothly on M1/M2/M3 Macs, and doesn't drain much battery.
Screen.Studio Applications
Recording demo videos for SaaS products
Developers recording coding operations or debugging
UI/UX designers showcasing interactive prototypes
YouTubers or educational content creators making tutorials
How to Use Screen.Studio
1. Download and Install
Go to the official site https://www.screen.studio and click Download to get the .dmg file. Open the file and drag Screen Studio to the Applications folder. The first time you launch it, the system will prompt you to grant Screen Recording and Accessibility permissions — you must approve them, otherwise recording won't work and cursor effects can't be added. You can also enable permissions manually in "System Settings > Privacy & Security > Screen Recording".
2. Start Recording
Method 1: Quickly record the full screen or a specific window
Open the app and click the red button (●) in the center. Choose what to record: full screen, click on a specific window to record just that window, or drag a box to select a region. Click Start Recording, and a 3-second countdown begins. While recording, press ⌘+. to stop.
Method 2: Use the menu bar shortcut
After installation, an icon appears in the menu bar — you can set whether it's always shown. Click the icon to directly select an area and start recording.
3. Edit After Recording
Cursor effects: Automatically highlights the cursor, and can be turned off. A circle animation appears on click, with customizable color, size, and timing. Right-click or double-click to add other annotation styles.
Zoom in on key areas: Select a segment on the timeline and click the Focus button in the tools bar — it automatically zooms in on that area with smooth transitions. You can adjust zoom level, duration, and speed effects.
Trim clips: Drag the ends of a clip to trim the beginning or ending. Click Split in the middle of the timeline to divide it, then delete unwanted sections. You can stitch multiple segments together, but multi-track complex compositing is not supported right now.
Add annotations: You can add text and customize fonts, colors, and backgrounds. Add arrows or shapes to direct viewers' attention to key points. Sensitive information such as emails and passwords can be blurred.
Audio handling: Can record system audio (requires macOS 13 or later, or tools like BlackHole). Microphone recording is on by default and can be turned off in settings. You can adjust volume or mute during editing.
4. Export Video
Click Export in the top right. Choose format: MP4 (universal, well-compressed, great for web); GIF (suited for short demos but large in file size); ProRes (high quality, suited for professional post-production but very large in file size). Set resolution (up to 4K) and frame rate (up to 60fps). Click Export to choose a save location, then wait for rendering to finish. Rendering is fast on M1/M2/M3 Macs — anywhere from a few seconds to tens of seconds.
5. Tips for Efficiency
Keyboard shortcuts: ⌘+N to start a new recording, ⌘+E for quick export, spacebar to play/pause preview. You can save presets for commonly used annotation styles and cursor effects. Edits are automatically saved as .screenstudio files and can be modified later.
Note
Only Mac screens can be recorded — iPhone/iPad recording is not supported. Camera picture-in-picture is not currently supported (as of early 2026). Free trial for 7 days, after which a license must be purchased for a one-time payment of approximately $49 (price subject to change).