
 Script Planner Assistant▸
 AI Apps
 AI News
opik-mcp: An Open-Source MCP for the Opik Platform Supporting Multiple Transports and IDE Integration
小编 ·

opik-mcp: An Open-Source MCP for the Opik Platform Supporting Multiple Transports and IDE Integration
What is opik-MCP?
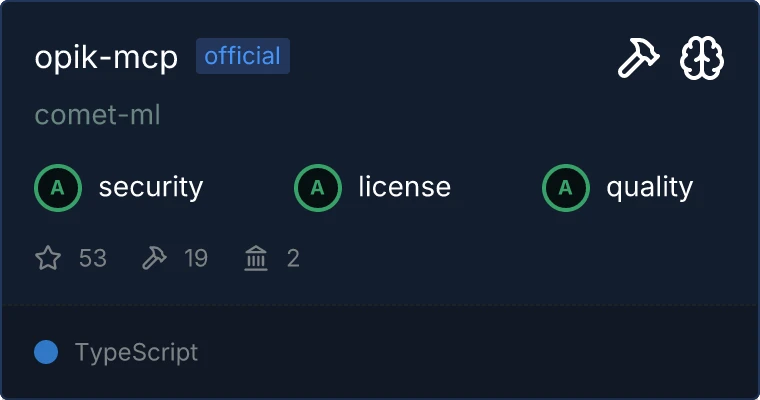
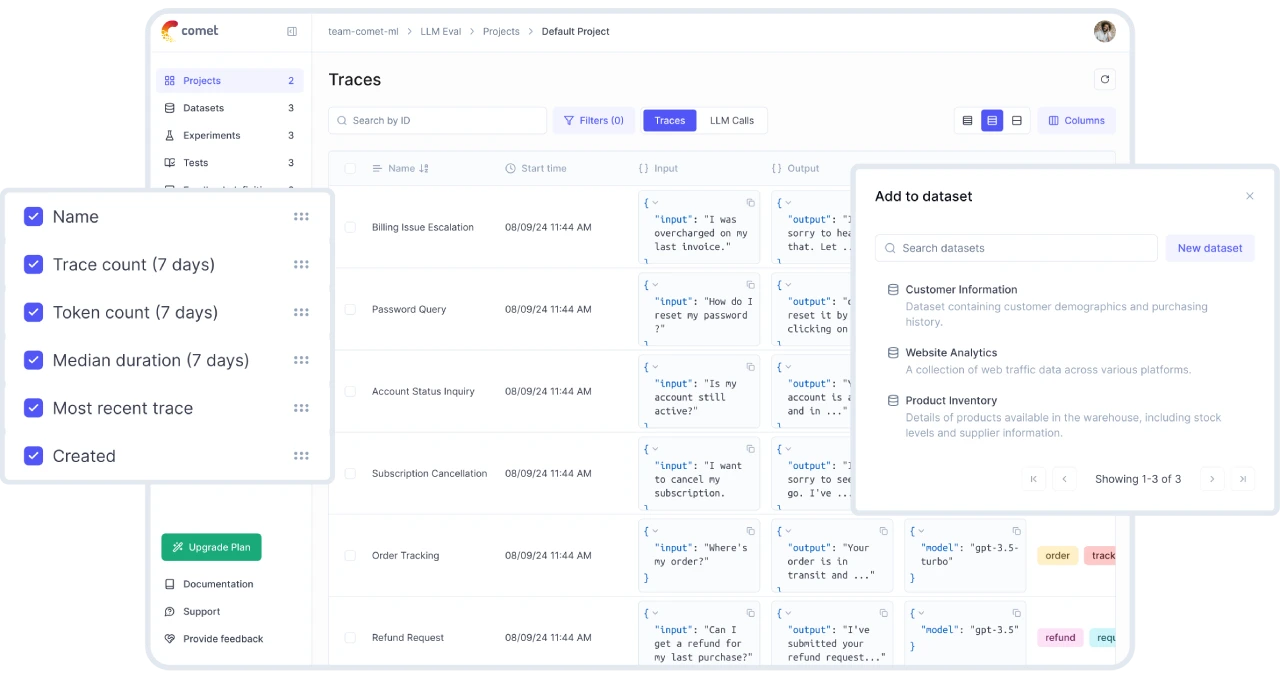
opik-mcp is an open-source Model MCP project implemented for the Opik platform. It supports multiple transport mechanisms and can be seamlessly integrated into IDEs, providing a unified interface to access Opik features. It makes it easy to manage prompts, projects, trace data, and metrics, efficiently organizing and monitoring large language model applications.
opik-mcpFeatures
Unified Interface: Provides a standardized API interface, allowing developers to directly access Opik features from the development environment.
Multiple Transport Mechanism Support: Supports both standard input/output (stdio) and Server-Sent Events (SSE) transport mechanisms. Note that SSE support is currently experimental; stdio is recommended for production environments.
Integrated Development Environment (IDE): Can be seamlessly integrated into compatible IDEs such as Cursor.
Project and Prompt Management:
Supports creating, listing, updating, and deleting prompts.
Allows organizing and managing projects and workspaces.
Tracking and Analysis:
Track and analyze your application's trace data, helping developers better understand application behavior.
Collect and query performance metric data for monitoring application performance.
opik-mcpInstallation and Usage
Installation:
Requires Node.js v20.11.0 or higher.
Clone the repository and install dependencies:
git clone https://github.com/comet-ml/opik-mcp.git
cd opik-mcp
npm install
npm run build
Configuration:
Create a .env file and edit the configuration as needed, for example setting the API base URL and API key.
Configuration can be done via command-line arguments or environment variables.
Starting the Server:
Using stdio transport (default):
npm run start:stdio
Using SSE transport (experimental):
npm run start:sse
IDE Integration
Taking Cursor IDE as an example, integration can be done through the following steps:
Create a .cursor/mcp.json file in the project directory with the following configuration:
{
"mcpServers": {
"opik": {
  "command": "/path/to/node",
  "args": [
"/path/to/opik-mcp/build/index.js",
"--apiUrl",
"https://www.comet.com/opik/api",
"--apiKey",
"YOUR_API_KEY",
"--workspace",
"default",
"--debug",
"true"
  ],
  "env": {
"OPIK_API_BASE_URL": "https://www.comet.com/opik/api",
"OPIK_API_KEY": "YOUR_API_KEY",
"OPIK_WORKSPACE_NAME": "default"
  }
}
}
}
Where /path/to/node and /path/to/opik-mcp need to be replaced with the actual path to the Node.js executable and the Opik MCP installation path, and YOUR_API_KEY should be replaced with your Opik API key.
Alternatively, you can manually add the Opik MCP Server through the Cursor settings page.
opik-mcpUse Cases
Development Environment Integration: Through IDE integration, developers can directly use Opik features during the development process.
Application Management: Manage performance metrics, trace data, and prompts for LLM applications.
Debugging and Optimization: Analyze your application's telemetry data to help with debugging and optimization.
Opik MCP Server provides flexible deployment options and powerful features, making it a powerful tool for developing and managing LLM applications.
Project Homepage:http://www.comet.com/opik/
Github:https://github.com/comet-ml/opik-mcp