 Script Planner Assistant▸
 AI Apps
 AI News
A Step-by-Step Beginner's Guide to Google Gemini 2.0 Flash
小编 ·

A Step-by-Step Beginner's Guide to Google Gemini 2.0 Flash
What is Google Gemini 2.0 Flash?
Google's Gemini 2.0 Flash model has been very popular these past few days. Gemini 2.0 Flash is a multimodal artificial intelligence model launched by Google, featuring powerful image generation and editing capabilities. It can generate and modify images through simple text prompts, and supports multimodal input and output, including text, images, audio, and other data types. The core feature of Gemini 2.0 Flash is its native multimodal capability, which enables it to handle text and image generation tasks simultaneously within a single model.
I. Using Gemini 2.0 Flash in AI Studio
In this tutorial, I will walk you through how to use Gemini 2.0 Flash in AI Studio to generate or edit images, step by step.
1. Log in to Google AI Studio
Open your browser and visit Google AI Studio, then sign in with your Google account.
2. Select the Model
After logging in, you will see an interface where you can select different models.
In the "Model" dropdown menu, find and select the [Gemini 2.0 Flash (Image Generation) Experimental] model.
3. Enter a Text Description to Generate an Image
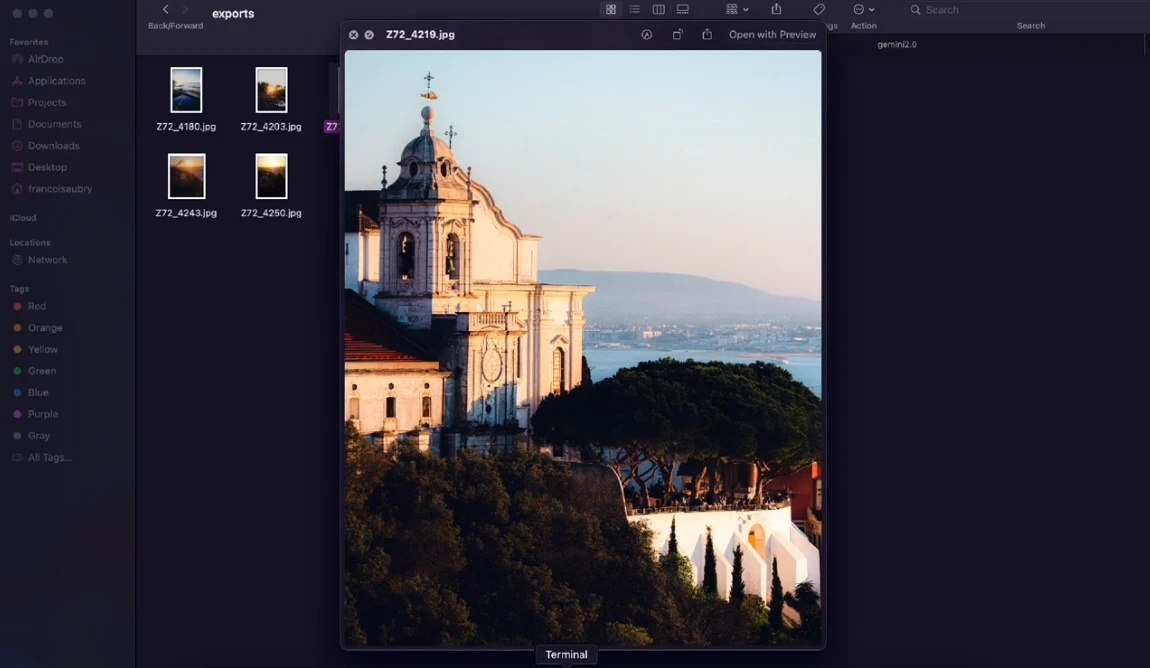
In the [Create prompt] box on the page, enter the description of the image you want to generate. The more detailed the description, the more the generated image will match your expectations. For example: "A white rabbit running in the forest, sunlight filtering through the leaves onto the ground, realistic style, 1080p resolution."
Once entered, click the [Generate] or [Start] button and wait for the model to generate the image.
4. Edit the Image
If you're not satisfied with the generated image, or want to edit it further, you can enter new instructions in the [Create prompt] box.
Add elements: For example, "Add a red rose to the image."
Change the style: For example, "Change the style of the image to a cartoon style."
Adjust details: For example, "Change the rabbit's eye color to blue."
After each instruction, click [Generate] or [Start] and wait for the model to generate the new image.
5. Upload an Image for Editing
If you have an existing image that needs editing, click the [Upload Image] button on the page to upload it.
Once uploaded, enter your desired editing instructions in the [Create prompt] box, for example: "Change the background of the image to a blue sky with white clouds."
Click [Generate] or "Start" and wait for the model to complete the edit.
II. Using It via the Gemini API
1. Obtain an API Key
Visit Google AI Studio.
Click the "Create API Key" button. Be sure to copy the key.
Paste it into a file named .env, formatted as follows:
GOOGLE_API_KEY=replace_this_with_api_key
2. Install Python Dependencies
If you are using Python, you can install the necessary libraries with the following command:
pip install google-genai pyautogui python-dotenv sounddevice numpy
Alternatively, you can download the requirements.txt file from the GitHub repository and use it to create a Conda environment:
conda create --name gemini python=3.11
conda activate gemini
pip install -r requirements.txt
3. Write Code to Call the API
Use the following code example to call the image generation feature of Gemini 2.0 Flash:
from google.generativeai import Client
# Initialize the client
client = Client(api_key="你的API密钥")
# Image generation
prompt = "一只在森林中奔跑的白色兔子,阳光透过树叶洒在地上,画面风格是写实的,分辨率1080p。"
response = client.generate_image(prompt)
# Save the generated image
with open("generated_image.png", "wb") as f:
f.write(response.image)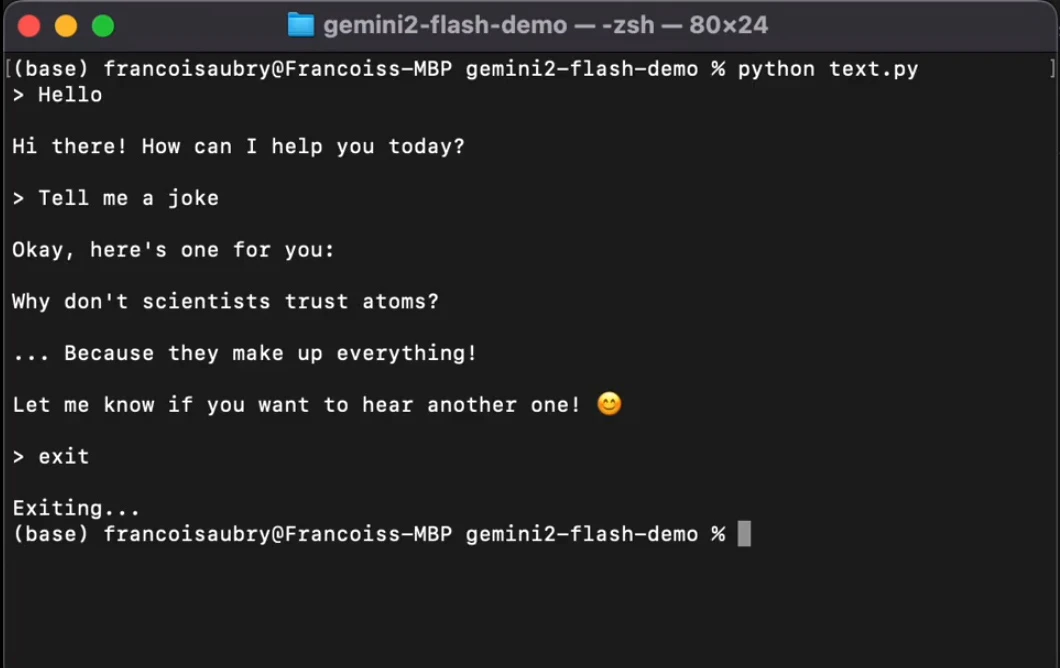
III. Advanced Usage
1. Specify the Subject of the Edit
If there are multiple subjects in an image, you need to clearly indicate which one to edit. For example:
"Change the rabbit's eye color in the image to blue."
"Change the background of the image to a blue sky with white clouds, but keep the rabbit unchanged."
2. Combine Text to Generate a Series of Images
If you want to generate a series of related images, you can first enter the beginning of a story, then gradually expand it. For example:
"Generate a scene of a child playing by the sea."
"Next, the child picks up a seashell and examines it closely."
"Finally, the child puts the seashell back into the sea."
3. Use English prompts
If the generated images don't meet your expectations, try translating your descriptions into English. For example:
Chinese: "一只在森林中奔跑的白色兔子。"
English: "A white rabbit running in the forest."
IV. Important Notes
Free Tier Limits:Google AI Studio provides a limited free usage quota, currently capped at a maximum of 50 requests per day, and no more than 2 requests per minute.If you exceed the limit, you may need to wait for some time, or upgrade to a paid plan.
Description Accuracy:The more detailed your description, the more the generated image will match your expectations. Try to use specific words and detailed descriptions whenever possible.
Privacy and Security:Do not upload or generate images containing sensitive information, and ensure that your use complies with relevant laws and regulations.
sh to generate and edit images. If you have any questions, you can always refer to the official documentation!
Gemini 2.0 official documentation:https://ai.google.dev/gemini-api/docs/models?hl=zh-cn