 Script Planner Assistant▸
 AI Apps
 AI News
ByteDance Trae: Installation, Setup, and Usage Guide

ByteDance Trae: Installation, Setup, and Usage Guide
TraeWhat is it?
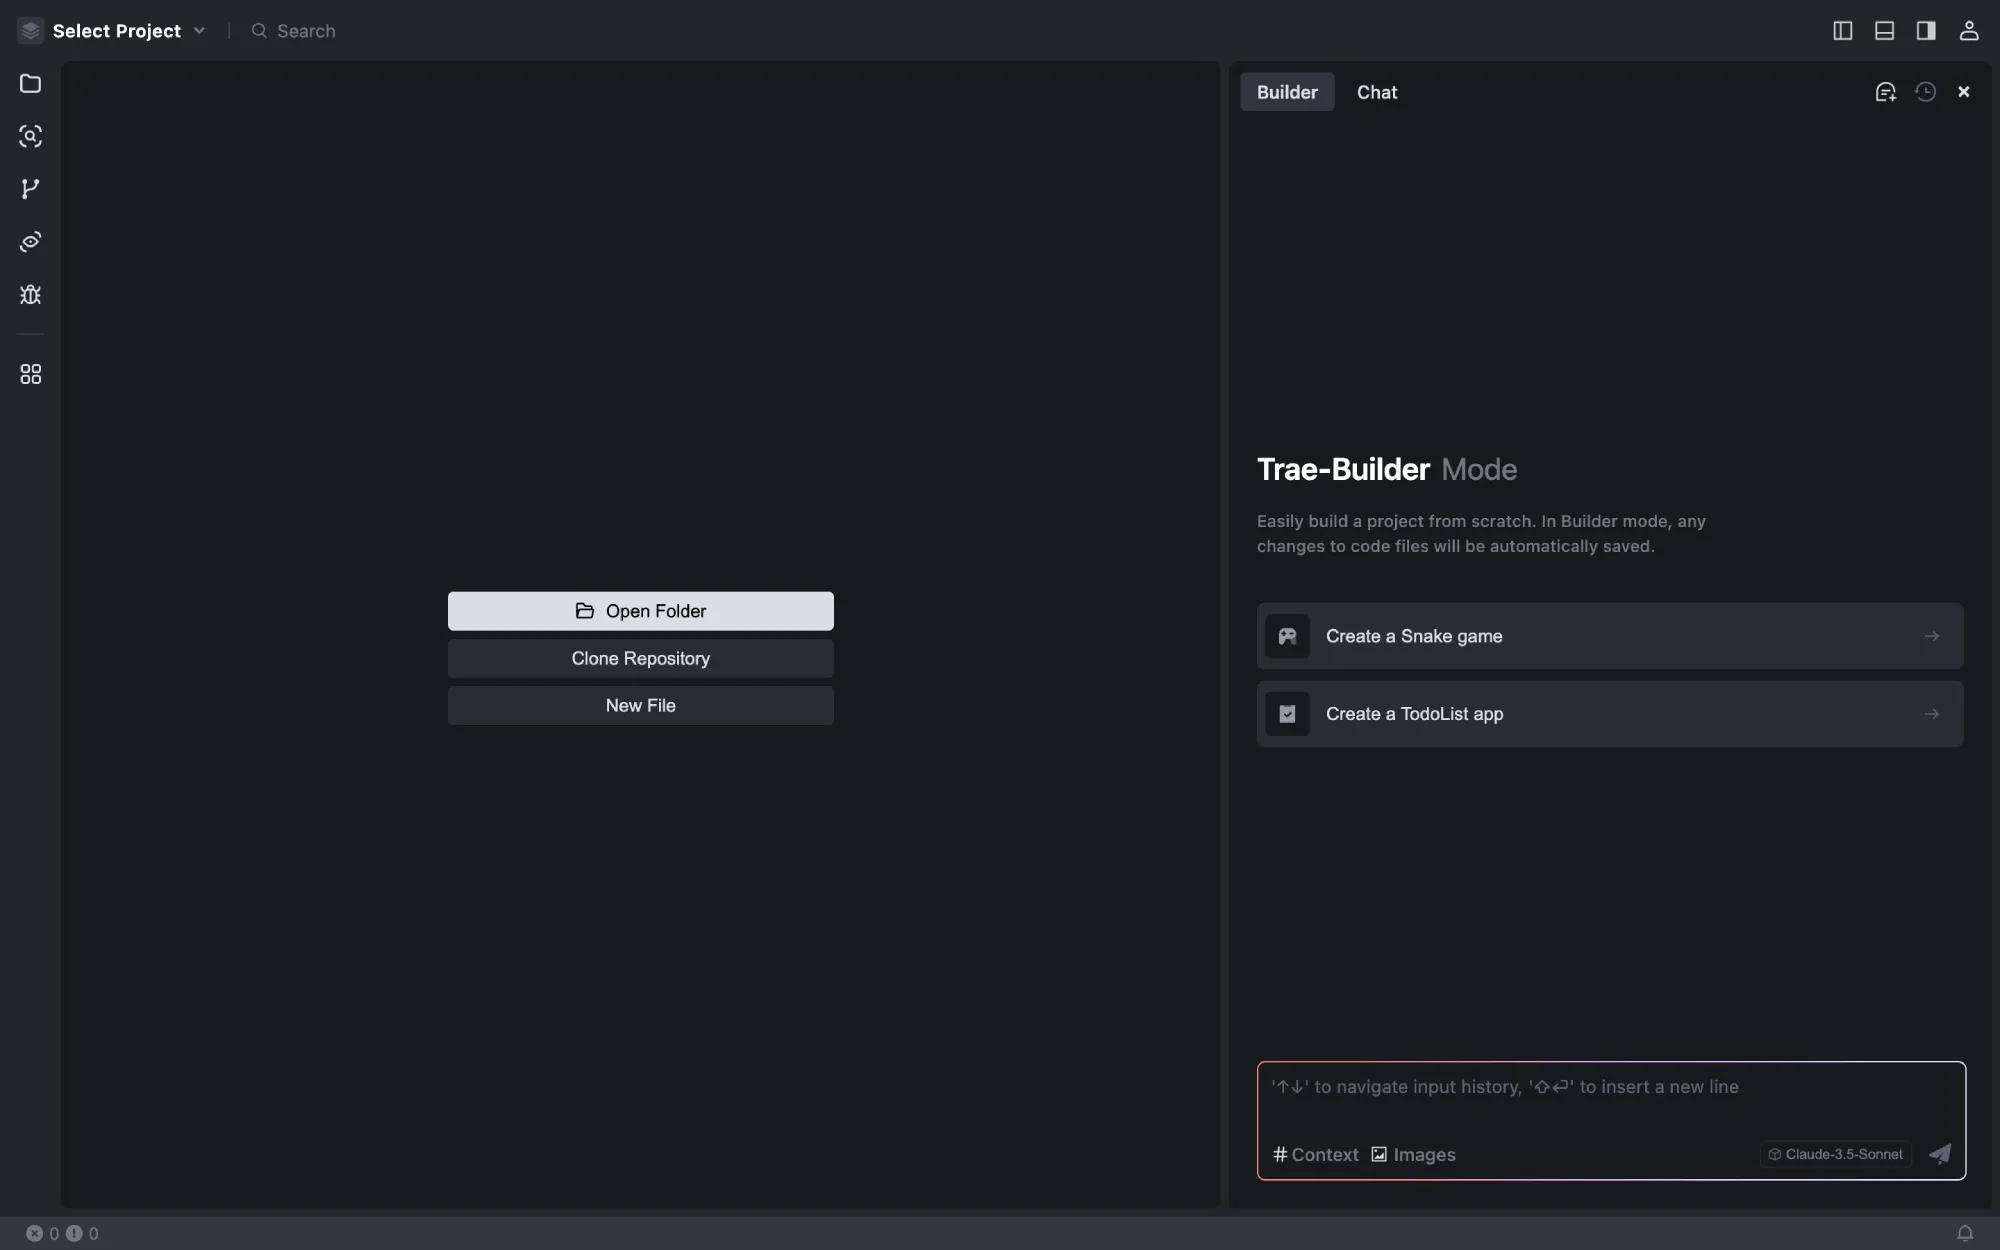
Trae is your helpful coding companion. It offers features such as AI Q&A, code autocompletion, and agent-based AI programming capabilities. When using Trae to develop projects, you can collaborate with AI to boost your development efficiency.
Comprehensive IDE Features
Trae provides the essential IDE features, including code writing, project management, extension management, version control, and more.
Powerful AI Assistant
Artificial Intelligence Q&A: During coding, you can chat with the AI assistant at any time to seek coding help, including asking the AI assistant to explain code, write code comments, fix bugs, and patterns.
Real-time code suggestions: The AI assistant will understand the current code and provide suggested code in the editor in real time.
Code snippet generation: By describing your needs to the AI assistant in natural language, it will generate the corresponding code snippets or autonomously write project-level and cross-file code.
0-to-1 project development: Tell the AI assistant what kind of program you want to develop, and it will provide the corresponding code based on your description or automatically create the relevant files.
Trae Installation and Setup:
Step 1: Install and Launch Trae
1. Visit Trae's website and install Trae on your PC;
2. Click the Trae icon to launch it;
The following screen appears when Trae is launched for the first time.
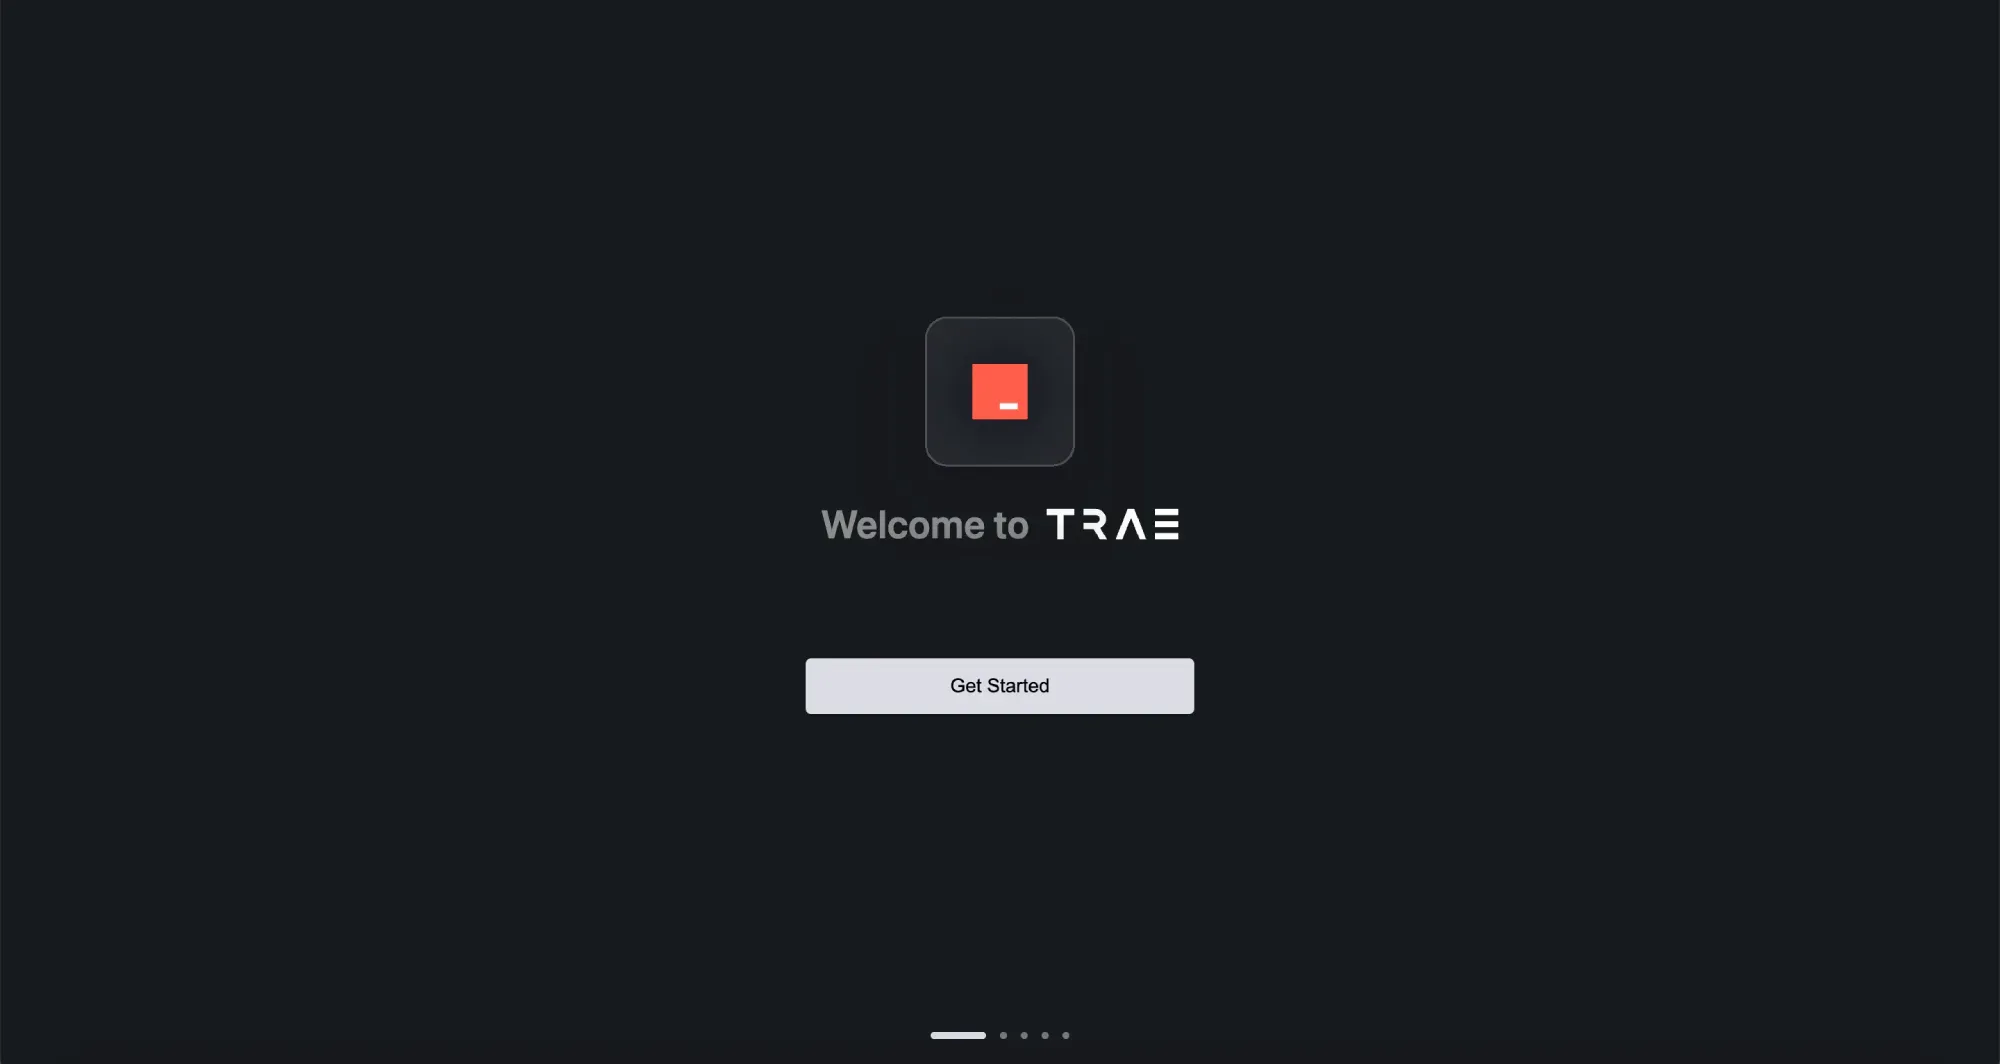
3. Click the "Get Started" button to set up Trae.
Step 2: Choose Theme and Language
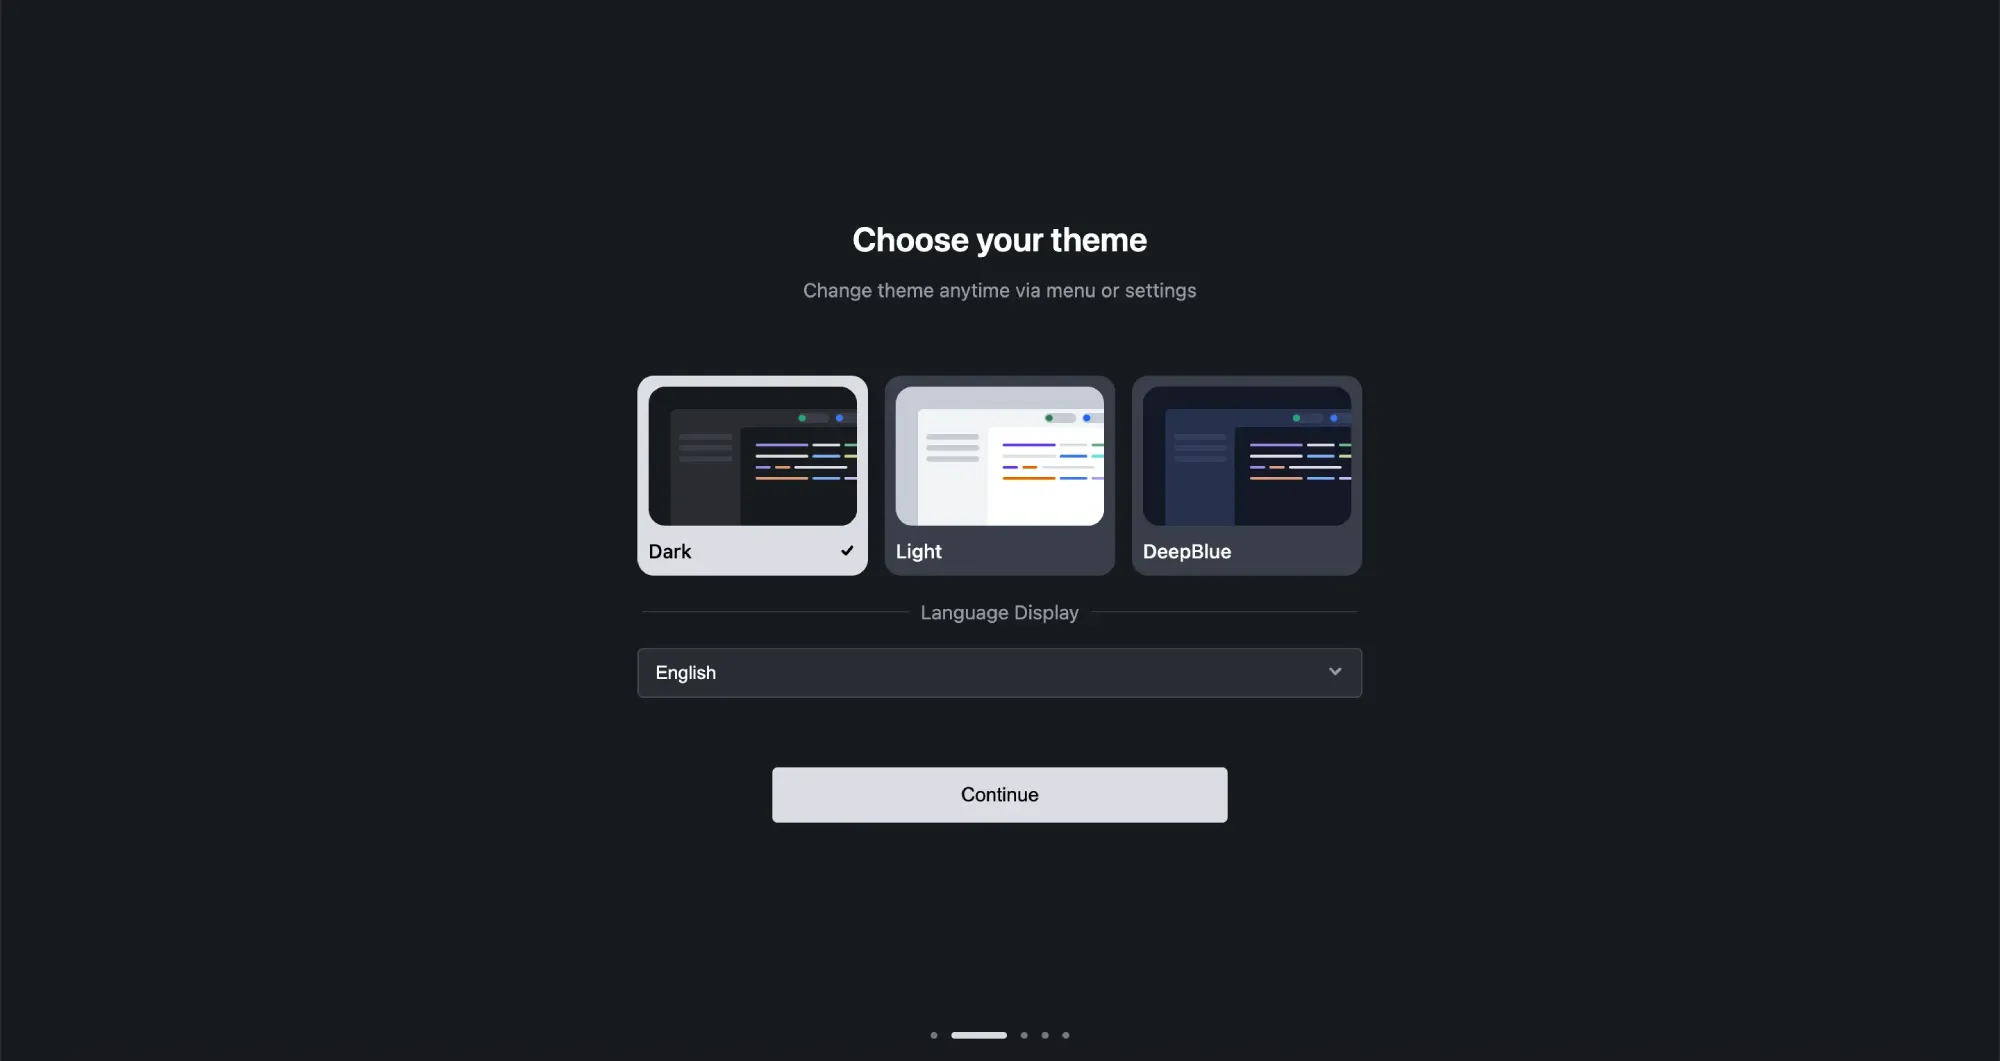
1. Choose a theme from Dark, Light, and DeepBlue.
2. Choose a language from English or Simplified Chinese.
The default language is English.
If needed, you can change the theme and language at any time in the Settings Center.
3. Click the "Continue" button.
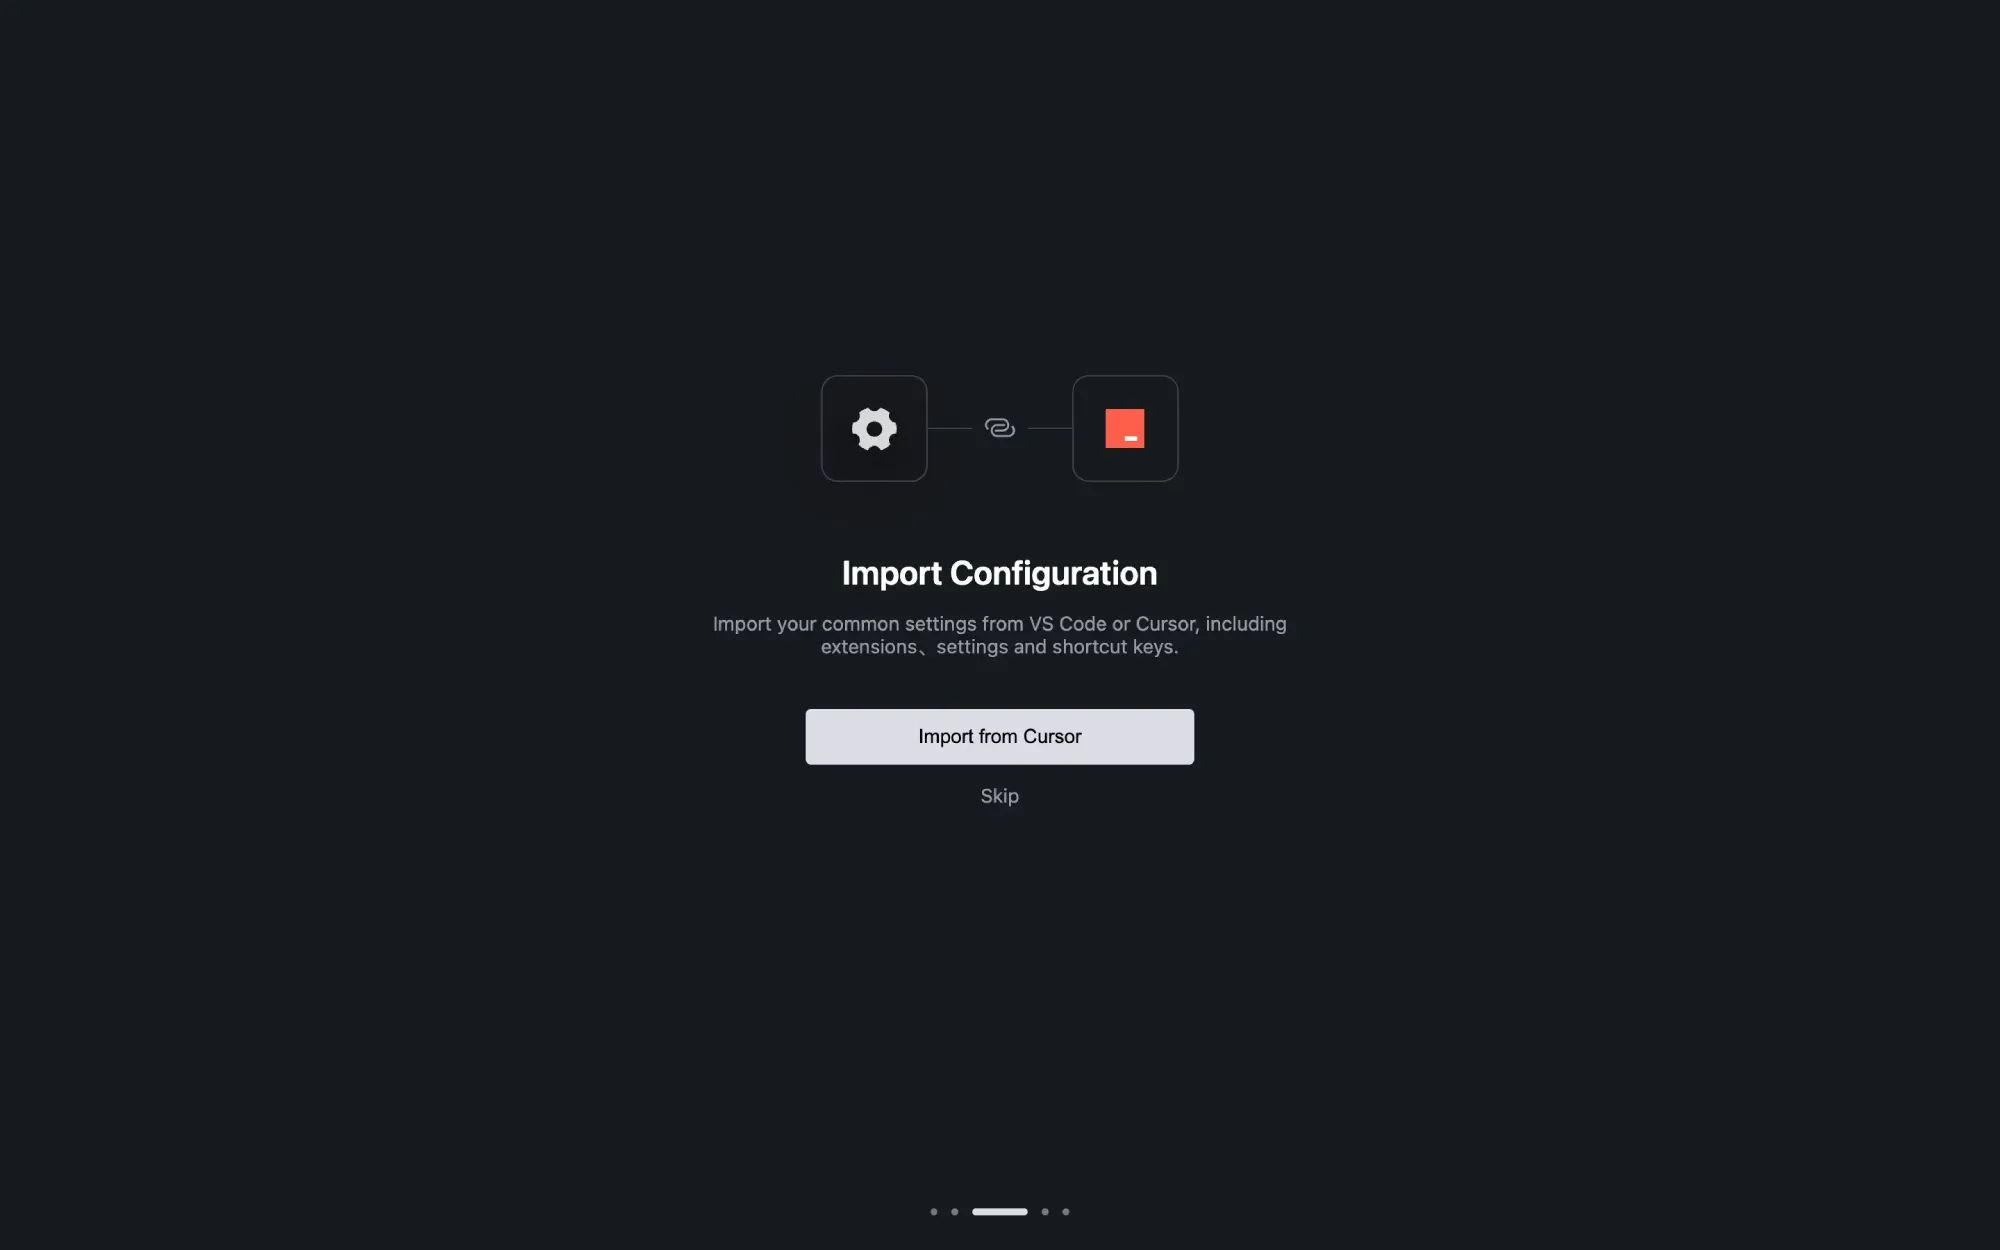
Step 3: Import Configuration from VS Code or Cursor
If you have already set up VS Code and/or Cursor on your PC, you can click "Import from VSCode" or "Import from Cursor". The system will import all extensions, settings, and keybinding configurations from these two IDEs into Trae, enabling you to quickly switch from other IDEs to Trae for development.
Step 4: Install Trae's Commands
After adding Trae-related commands, you can use them in the terminal to quickly perform corresponding tasks in Trae. For example:
Use "trae" to quickly launch Trae;
Use "trae my-react-app" to open a project in Trae.
Follow the steps below to add the commands.
1. Click the "Install trae command" button.
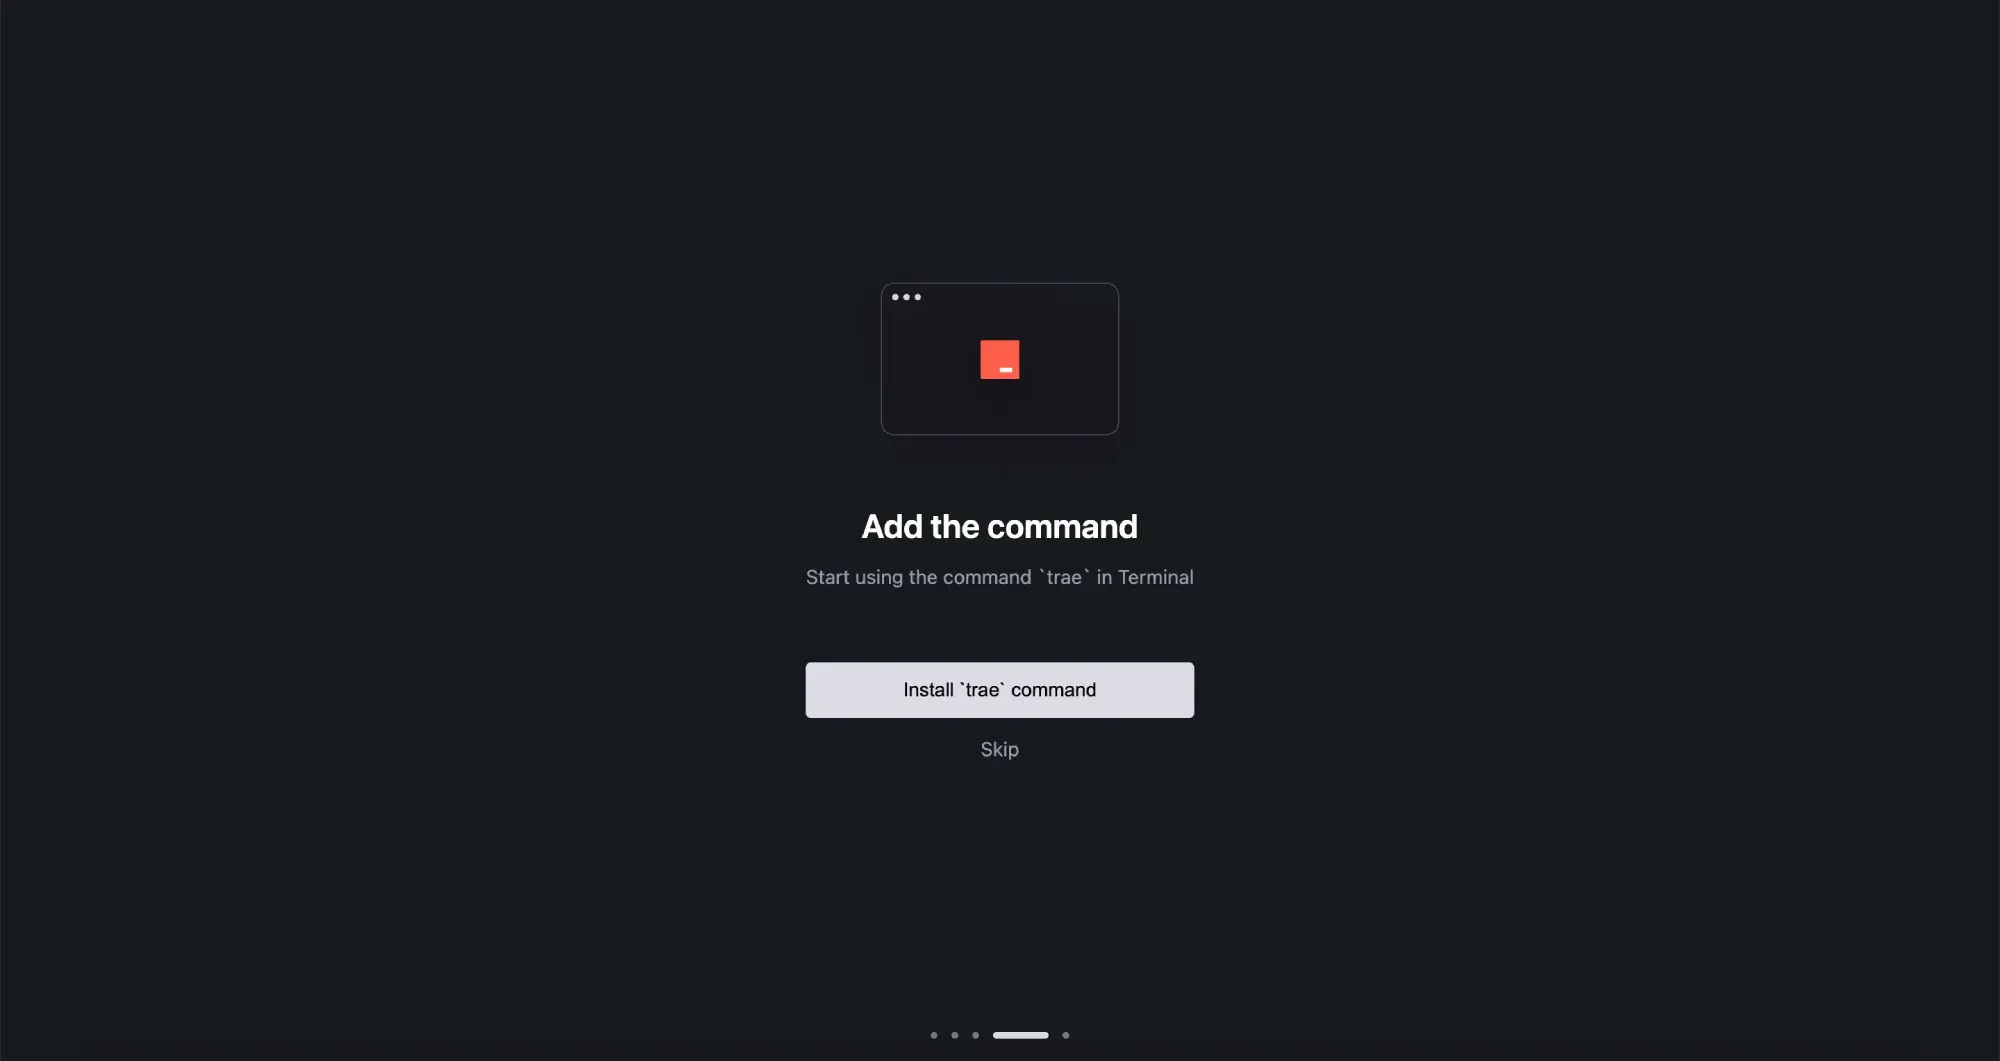
The following window pops up
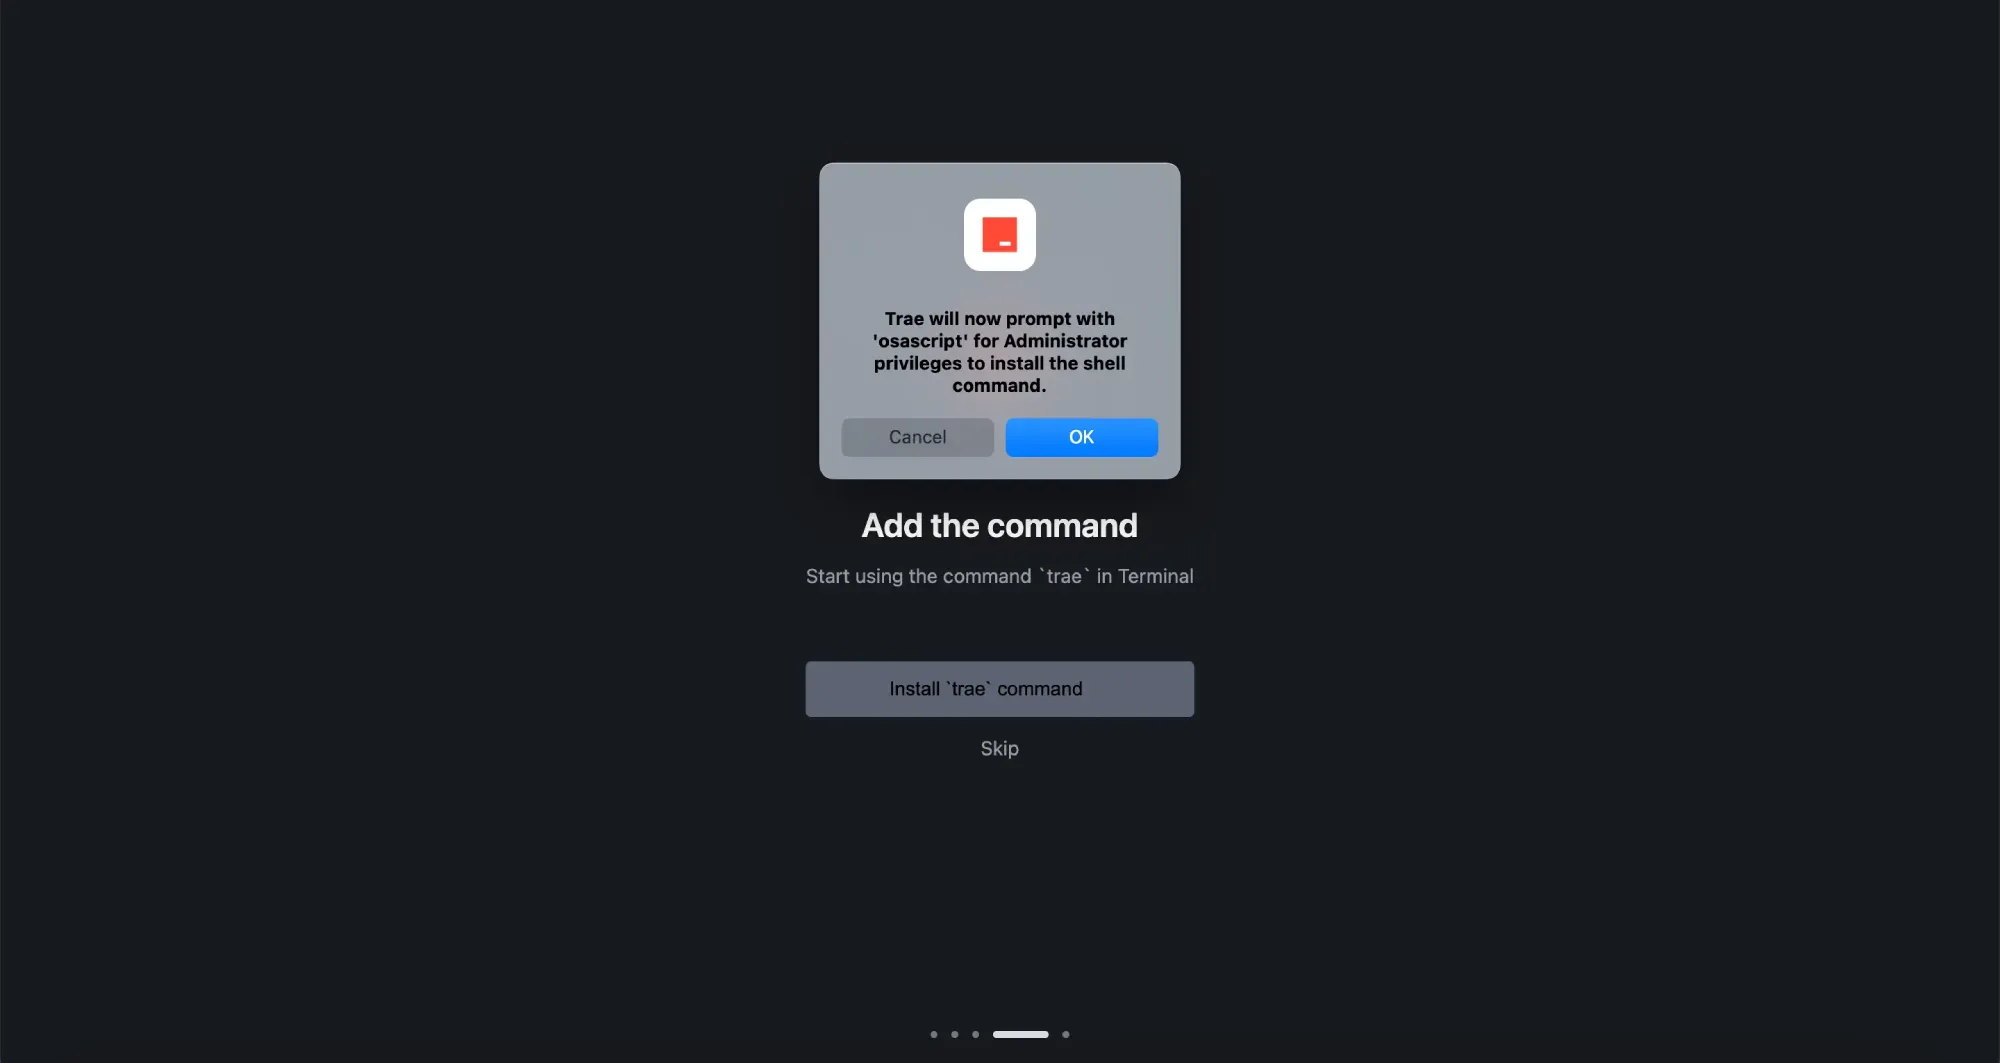
2. Click "OK", and the following window pops up.
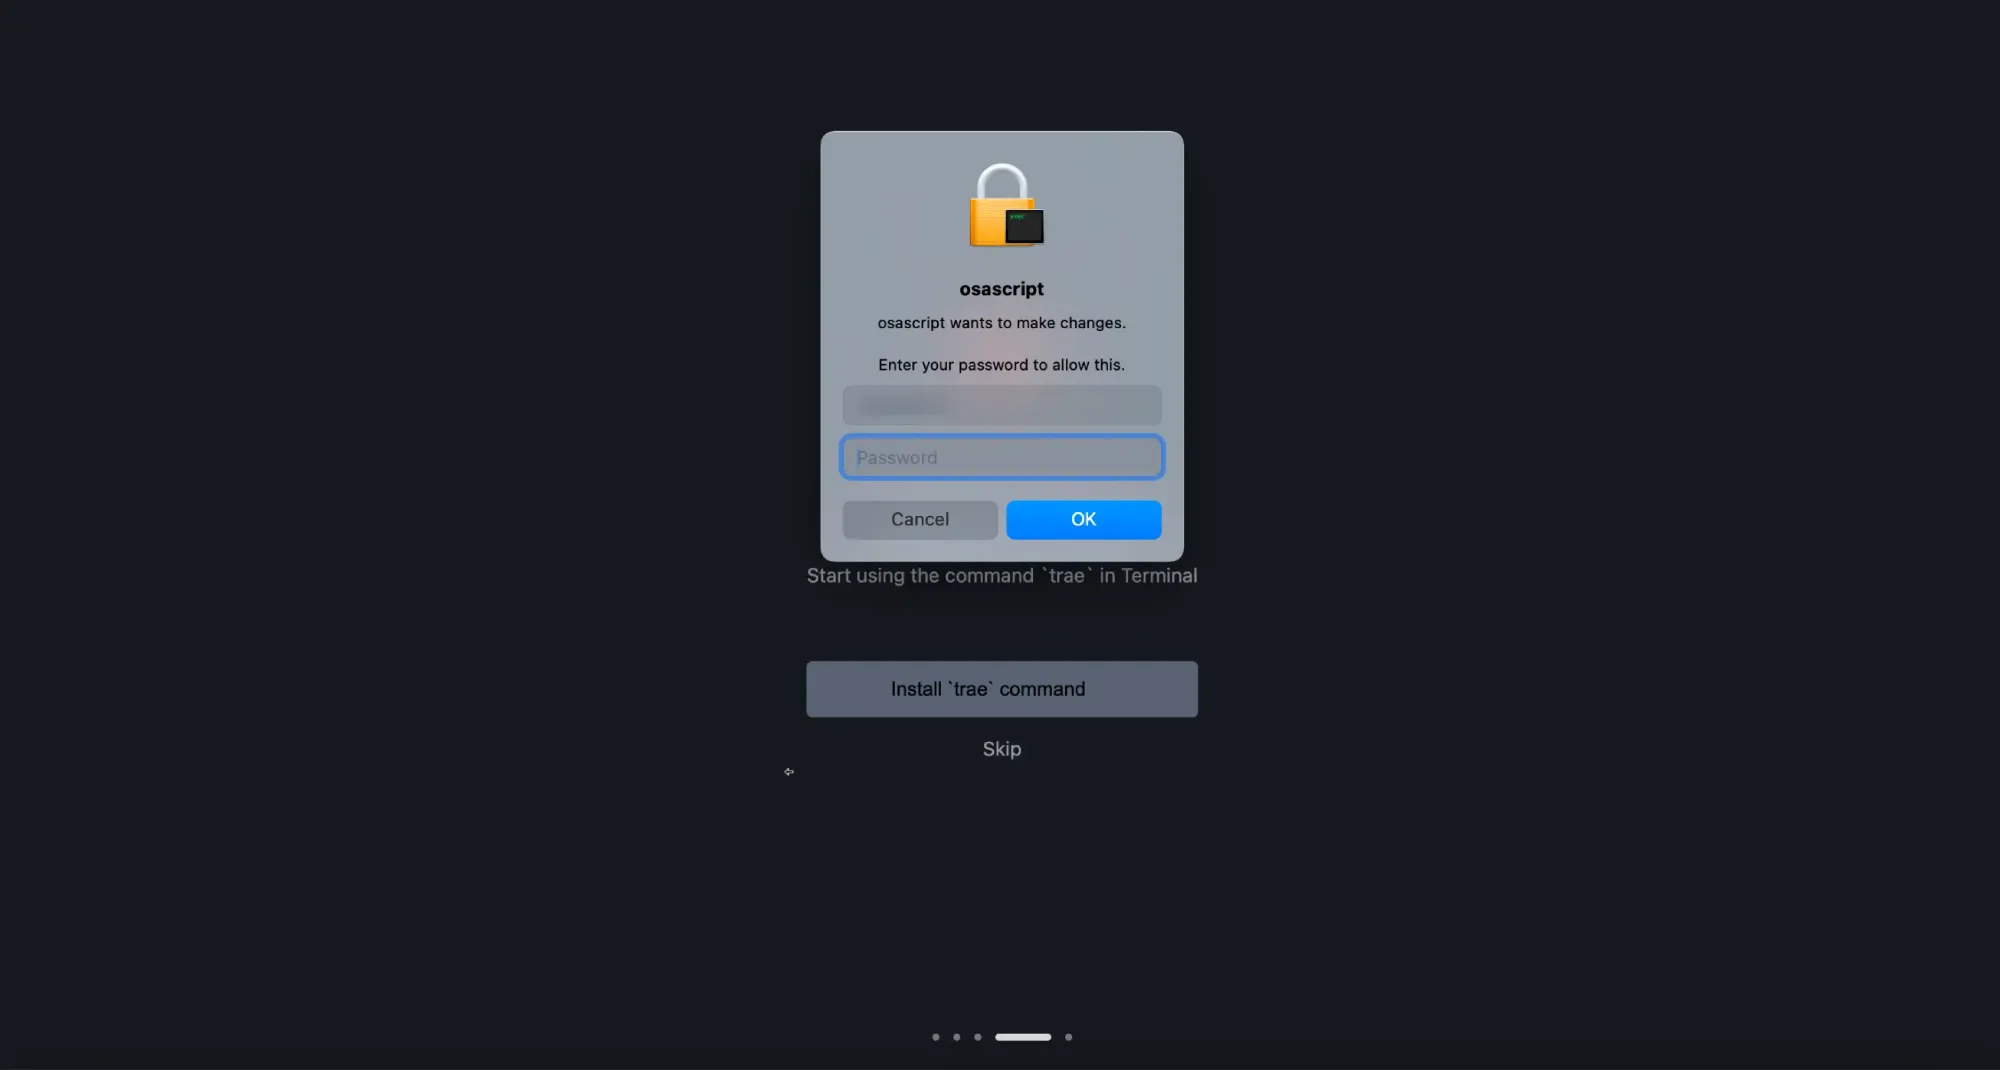
3. Enter the password you use to log in to this Mac, then click "OK".
Trae begins to request administrator privileges to install the shell command.
Step 5: Log In to Trae
You need to log in to Trae to use the AI assistant. You can log in to Trae using a Google account, a GitHub account, or an email registered with Trae. If you don't have an account, please create one for logging in.
1. Click "Log In".

Enter the login screen
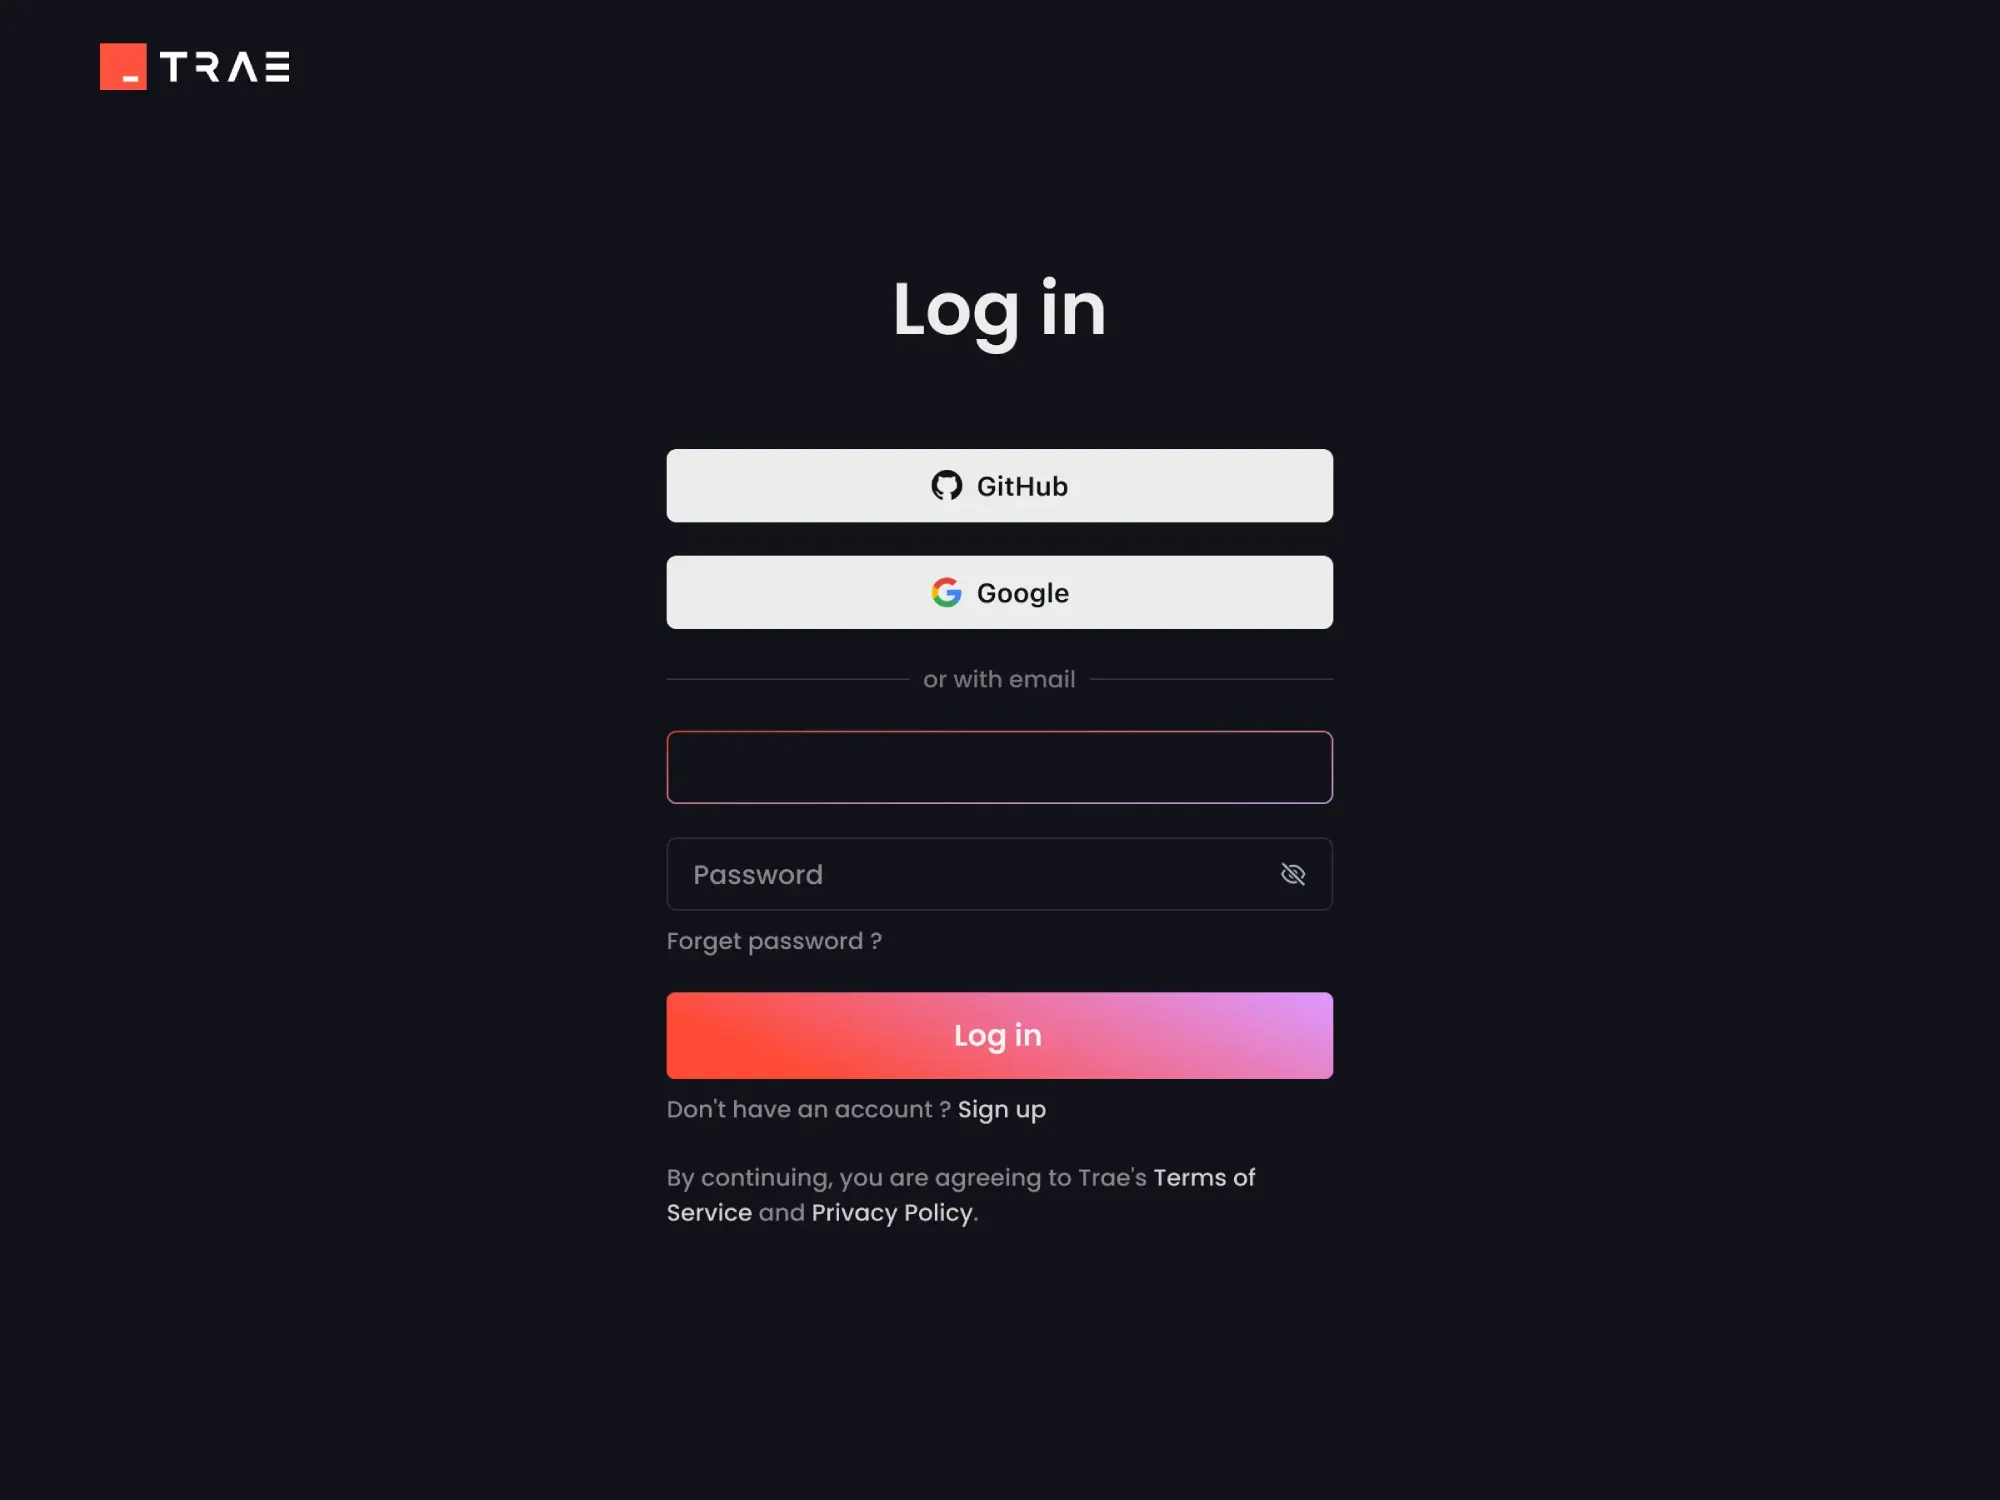
2. Log in to Trae using your preferred method.
After logging in, enter the home page of the Trae IDE.