 Script Planner Assistant▸
 AI Apps
 AI News
How to Use D-ID: Step-by-Step Beginner's Guide

How to Use D-ID: Step-by-Step Beginner's Guide
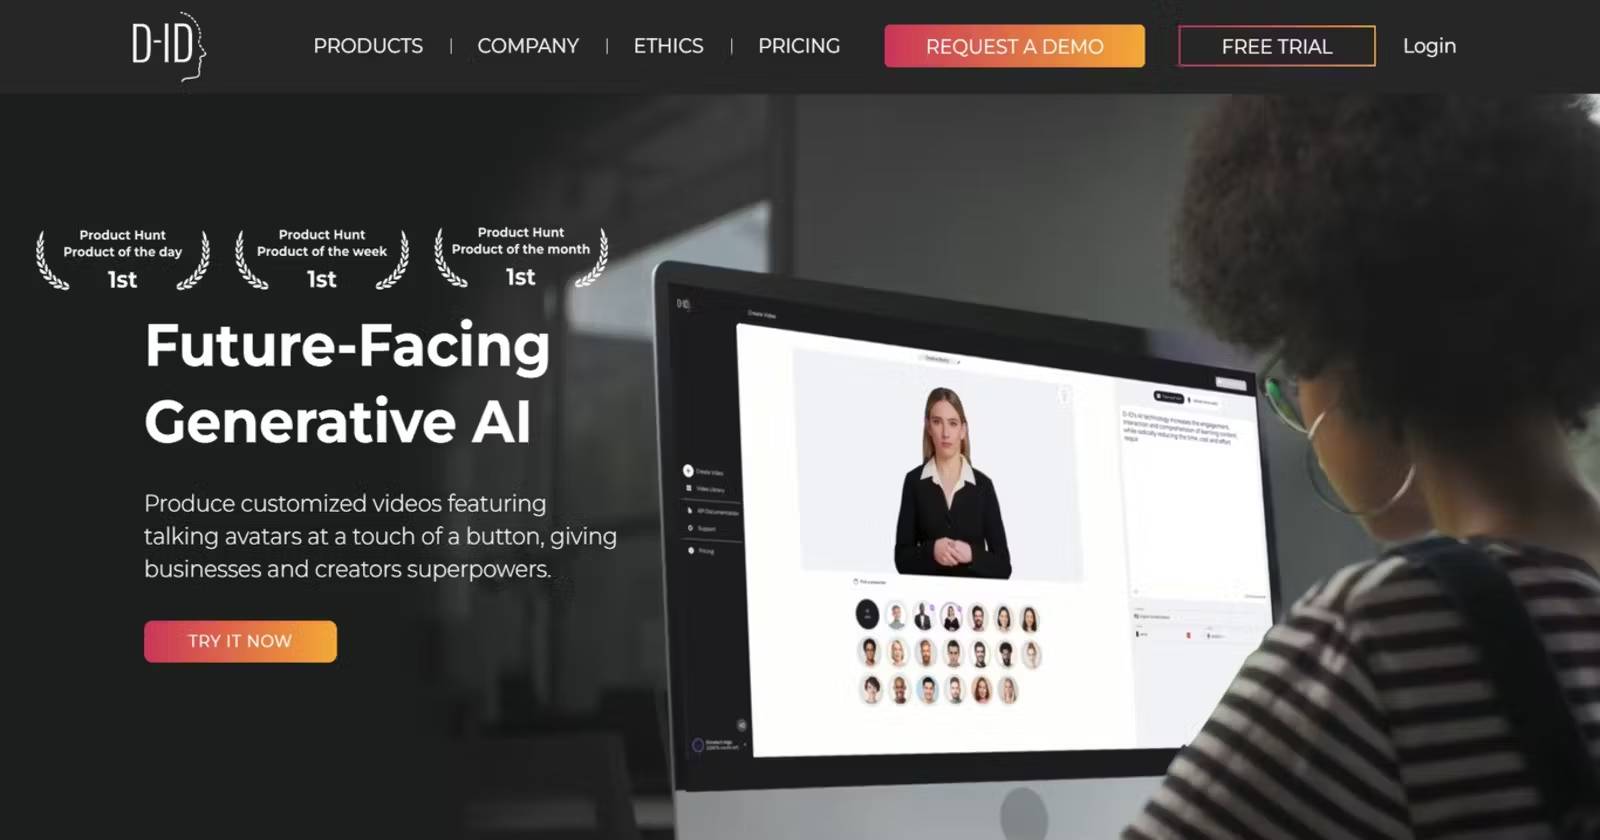
What is D-ID?
D-ID is a technology startup focused on using artificial intelligence to create realistic avatars and AI digital humans, specializing in AI-generated video creation. It uses deep learning and other advanced AI tools to deliver creative, realistic solutions, ensuring high-quality video content for a variety of applications and supporting professionals and content creators across various fields.
D-ID Features and Functions:
Professional Video Creation: D-ID's generative AI technology enables you to create high-quality videos from a single still image. Enhance your marketing campaigns, learning materials, and content creation with engaging videos.
Customization Options: Choose from a range of avatars or generate your own to personalize your videos. Customize scripts, languages, voices, and styles to meet your specific requirements and desired tone.
To use D-ID, follow these steps:
Account Setup:
Visit the D-ID website and sign up for an account (if you haven't already).
Presenter Creation:
Navigate to the "Create Presenter" page.
Select from existing presenters or upload your own photo for customization.
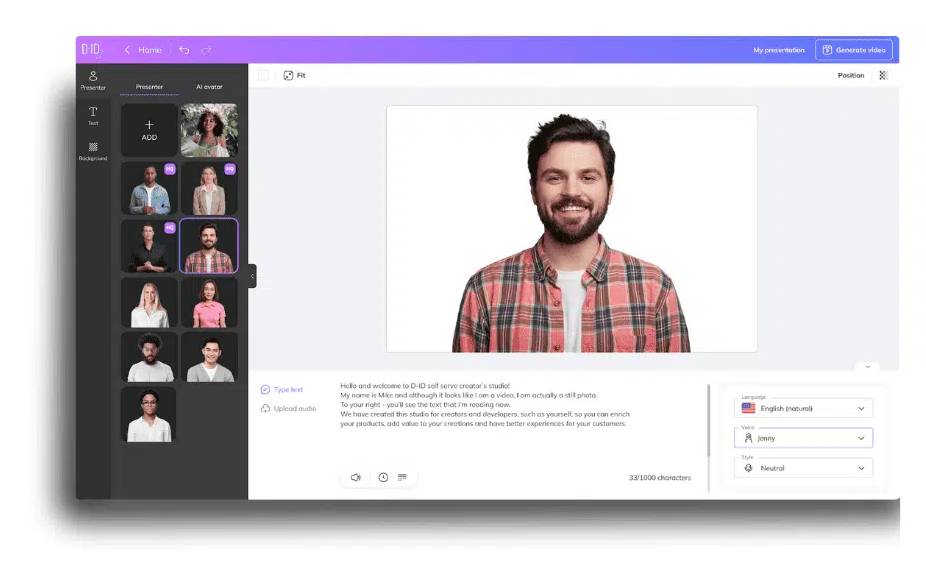
1. Create a Presenter: Click the "Create Video" button to start a new video. On the "Create Video" page, select an existing presenter or add your own by clicking "Upload Your Own Photo" and choosing the image you want to animate. For best results, use a clear, front-facing photo with good lighting.
2. Choose Canvas Layout: Select the layout that best fits your design, allowing you to create videos for mobile devices, social media, presentations, and more. The canvas can be set to wide, square, or vertical.
3. Add Script: The script determines what the presenter will say in the video. Your script can be up to 5 minutes long (approximately 700 words).
4. Choose Language: D-ID offers over 100 different text-to-speech languages and accents to choose from. Please note that the language of your script determines which language you should select from the dropdown menu. If your script and voice language do not match, the presenter will speak using the accent you selected. You can also upload your own recording by clicking the "Upload Audio" button and selecting an audio file from your computer. Soon, you'll also be able to record your voice directly in the studio.
5. Give the Presenter a Voice: Select the speaker's gender, then choose a voice. Each character sounds different, so test them by clicking the listen icon to find your favorite. Feel free to experiment as many times as you like until you're satisfied.
6. Choose Your Avatar's Expression: Your avatar can be happy, serious, surprised, or maintain a neutral expression. Simply click the emotion you want the presenter to convey, and it will be reflected in the video.
7. Choose Video Background: You can now determine the canvas background. Choose from a variety of solid colors and pre-made designs.
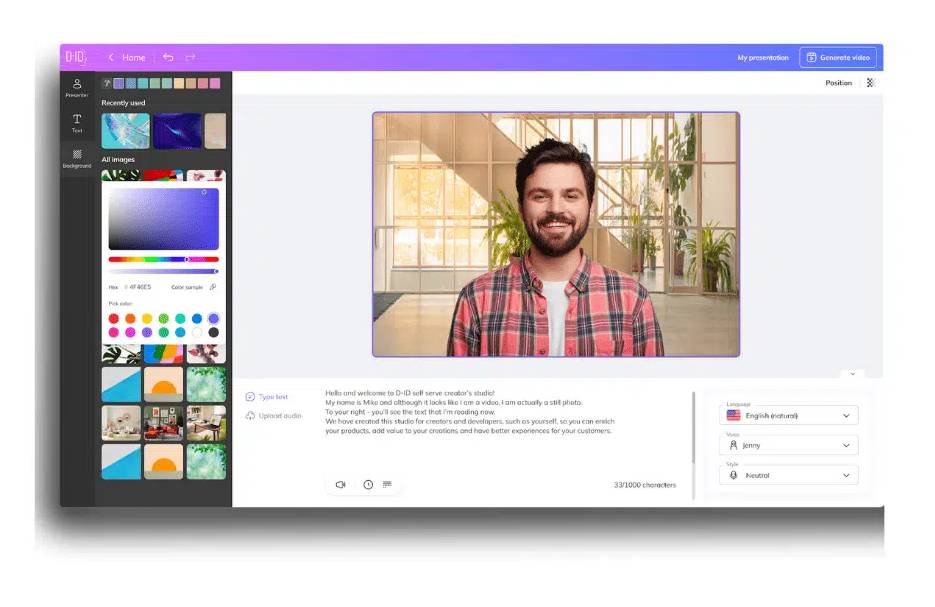
8. Positioning, Layering, and Transparency: You can also determine the position, layering, and transparency of elements. Positioning determines where you want the presenter on the canvas. Layering allows you to move different elements backward or forward in your design. Transparency allows you to select the opacity of each element.
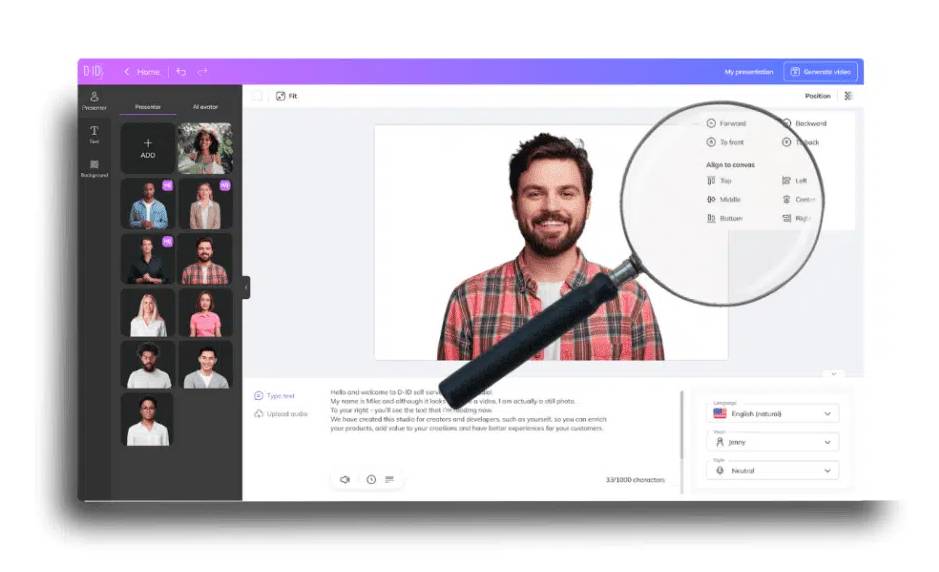
9. Generate Video: Once you've set everything up. Name your video, then click "Generate Video" to start the generation process.
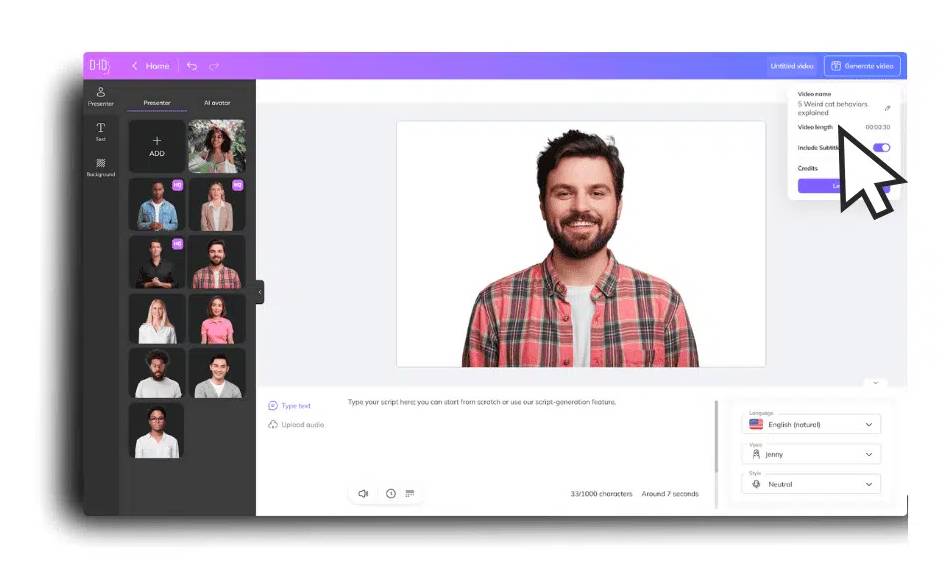
10. Review and Export: Review your video to ensure the avatar's movements are synchronized with the voice, the content is accurate, and the presentation meets your needs. If everything looks good, you can finalize and export your video. The video will be saved to your video library. You can download it as an MP4 file or share it directly to your social media channels.
API Integration (for Advanced Features):
Integrate the D-ID API into your application or project.
Use the API to create videos from images, text, or audio files.
Content Generation:
Input still images along with text or audio files to start generating videos.
Choose from various options such as "Talk," "Live Portrait," or "Animation" based on your needs.
Customization:
Adjust parameters such as lighting, background, and lip-sync to suit your preferences.
Rendering:
Render videos at scale—D-ID's rendering runs at 100 FPS, 4 times faster than real-time.
Streaming:
Leverage the Clips Live Streaming API to generate videos in real-time for various applications such as virtual assistants or online education.
Tailored Plans:
Choose from different API plans to fit your product lifecycle, ensuring predictable and manageable costs.
Experience the power of D-ID's generative AI technology and create videos with ease. Unlock new possibilities for your marketing campaigns, learning materials, and content creation work.