
 Script Planner Assistant▸
 AI Apps
 AI News
How to Use ColorizePhoto to Colorize Black-and-White Photos

How to Use ColorizePhoto to Colorize Black-and-White Photos
Inject new vitality into old photos by adding the dimension of color. ColorizePhoto is the simplest tool for adding realistic colors to vintage photos. ColorizePhoto eliminates the guesswork of choosing realistic skin tones and material colors, making ordinary photo colorization look uninspired. No software installation is required; you can quickly and easily colorize your photos online using ColorizePhoto.
When ColorizePhoto is first loaded, the editor preloads an example of a black-and-white image that can be colorized.
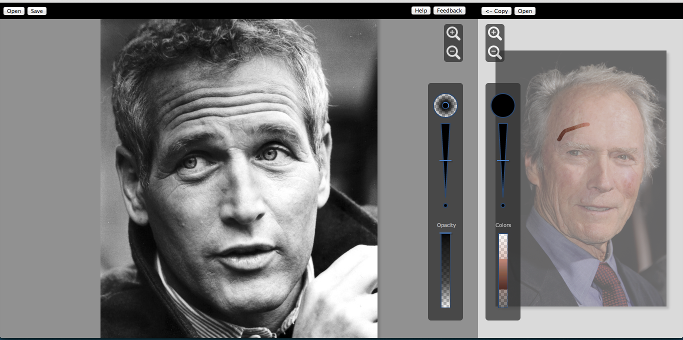
The left panel contains the photo to be colorized, and the right panel contains the color reference photo.
You can work with built-in images or load your own. To load your black-and-white photos, click "Open" in the top-left corner of the page.
Use the "Open" in the left panel to select a black-and-white image
Select an image from your computer to load the photo into the software. Your photos are never sent to our servers, so there is no need to worry about photo privacy.
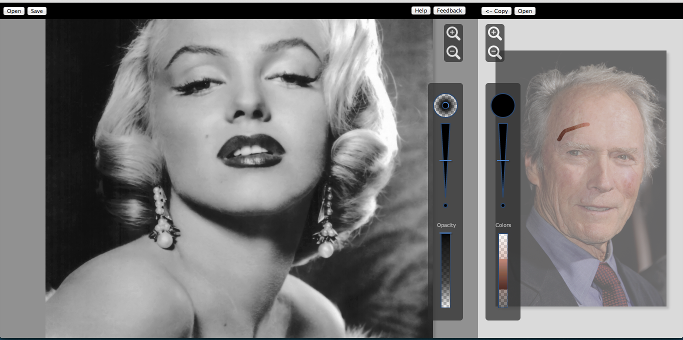
The black-and-white image is loaded into the left panel
Select a Color Reference Photo
After selecting a black-and-white photo, the next step is to find a color reference image. This image will serve as the source of the colorization colors. If you don't have a reference image on hand, Google Images is a great source.
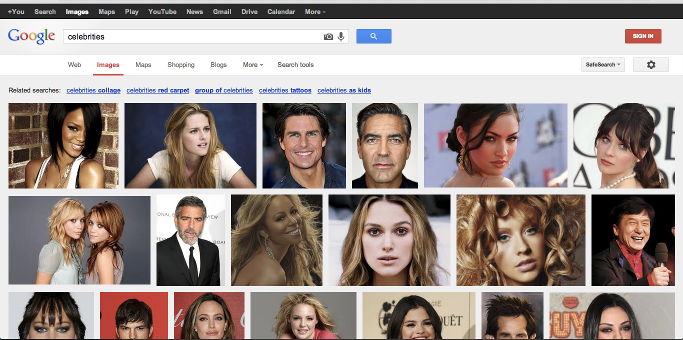
Google Images is a good source for color photos
Search for similar images with colors and save them to your hard drive. Then select "Open" in the right panel and locate the photo you just saved.

Use the "Open" in the right panel to load the reference image
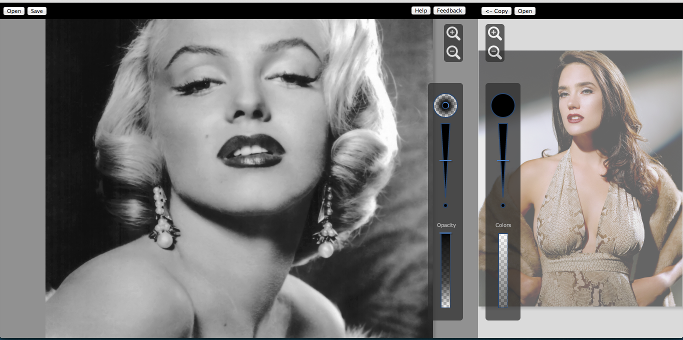
The right panel contains the color reference photo
Colorize the Photo
Now the fun begins. To colorize a photo, you will select colors from the color photo and then paint them onto the black-and-white photo.
Select Colors
Use the reference photo to choose the colors to apply. For best results, choose regions and brightness similar to the section of the black-and-white photo you're colorizing.
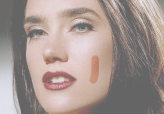
Select colors from the right panel.
Use the Color Brush Size slider to fine-tune the size of the color selection brush. Click toward the top of the triangle to increase brush size, and toward the bottom to decrease brush size.

Adjust color selection size
The "Output" section of the color panel displays the colors that will be applied to the black-and-white photo.
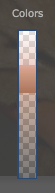
Apply Colors
With some colors now selected, simply paint the colors onto the black-and-white photo.
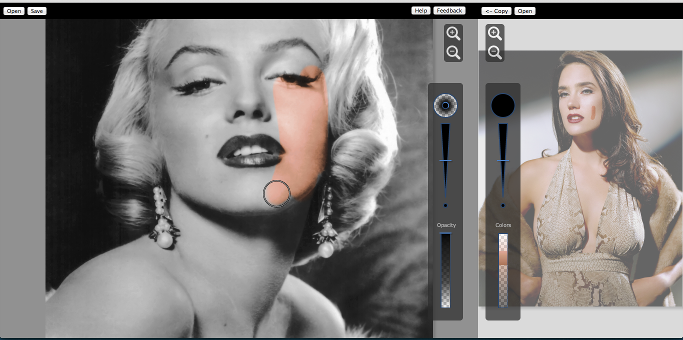
Paint the selected colors onto the black-and-white image.
You can fine-tune how the colors are applied via the brush options.

Adjust the brush options.
Change the brush edges by dragging the top-right corner of the brush hardness tool.
Use the Brush Size slider to adjust the size of the painting area. Move the slider toward the top to increase brush size, and toward the bottom to decrease brush size.

Adjust brush size
Use the brush "Opacity" slider to adjust the colors applied to the photo. Lower the opacity and apply subtle tonal variations to increase the realism of the colorization.
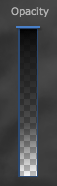
Adjust the amount of color applied
After repeating the application of base colors, select a new color from the color reference photo and apply it to a different section of the image.
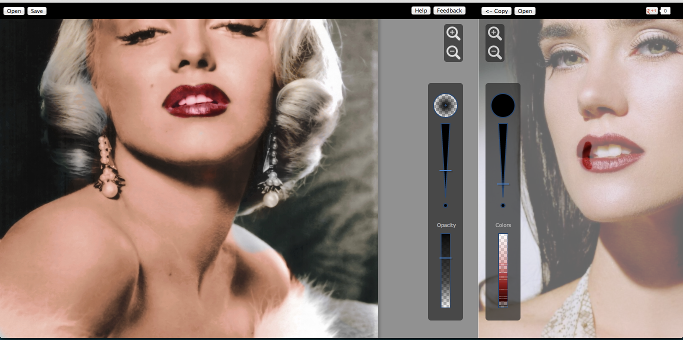
Continue applying colors until the image is roughly colorized
Continue refining the photo. Use the zoom controls to zoom in and color in fine detail.

Zoom in/out for fine detail
Before long, you'll have a beautiful, realistic color photo.
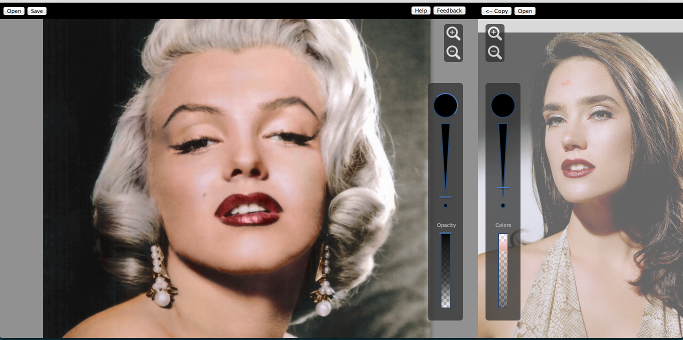
Done!
Use the "Save" button to download your color photo.